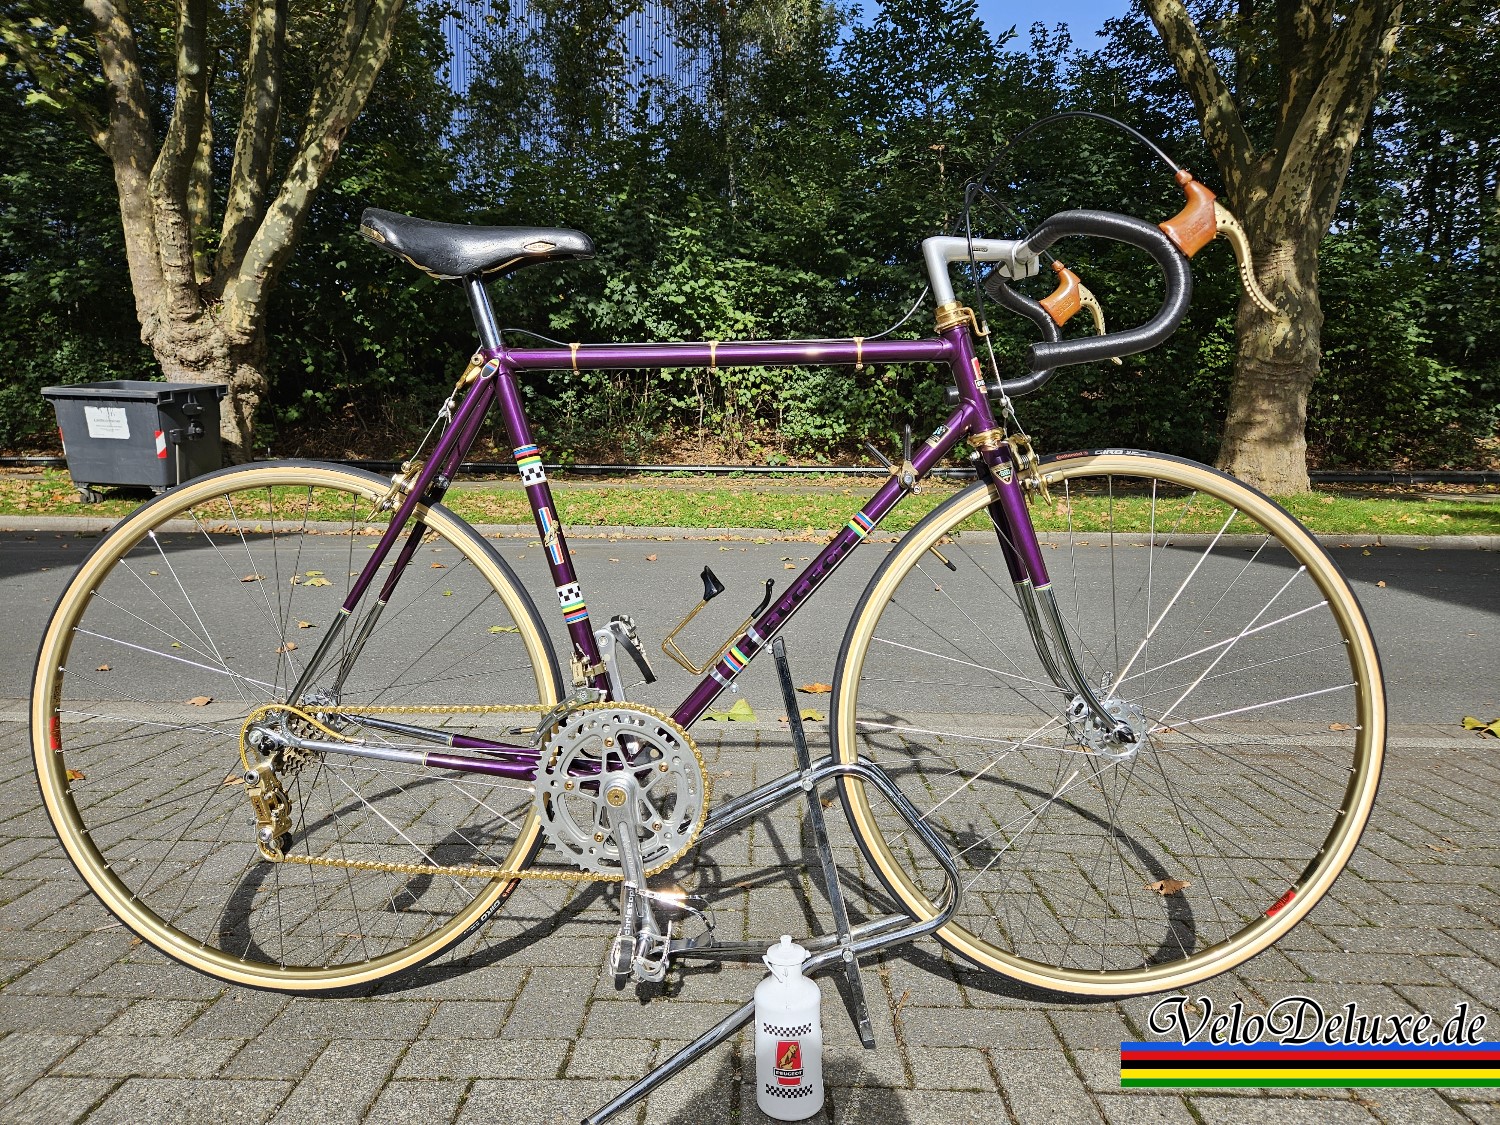
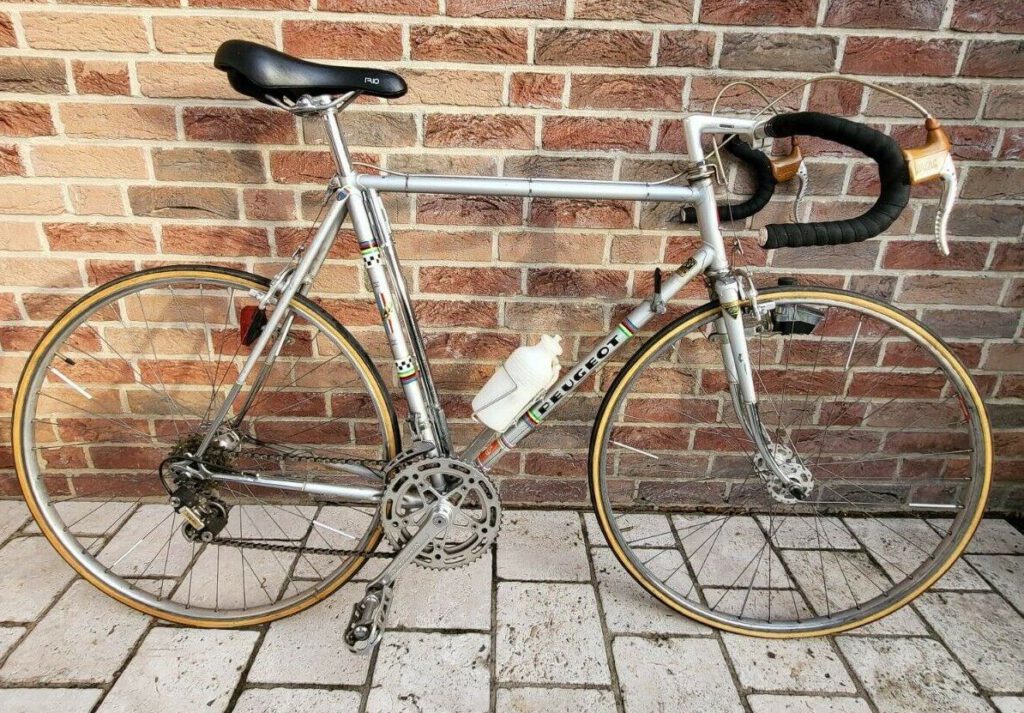
After a long break I am finally back to my Peugeot PX10 project. A few years ago I bought two PX10 road bikes through eBay and Kleinanzeigen. As I recall, they came from Belgium or the Netherlands. The components were original and in good condition. The paint was tired, although the frames themselves were structurally sound.
I have always liked the Peugeot PX10 and associate it with the marque’s Tour de France wins. I was delighted to find two in quick succession. I intended to strip, clean and rebuild both. Once all the components were off and I could see the bare framesets properly, both the mystique and my original plan faded fast.
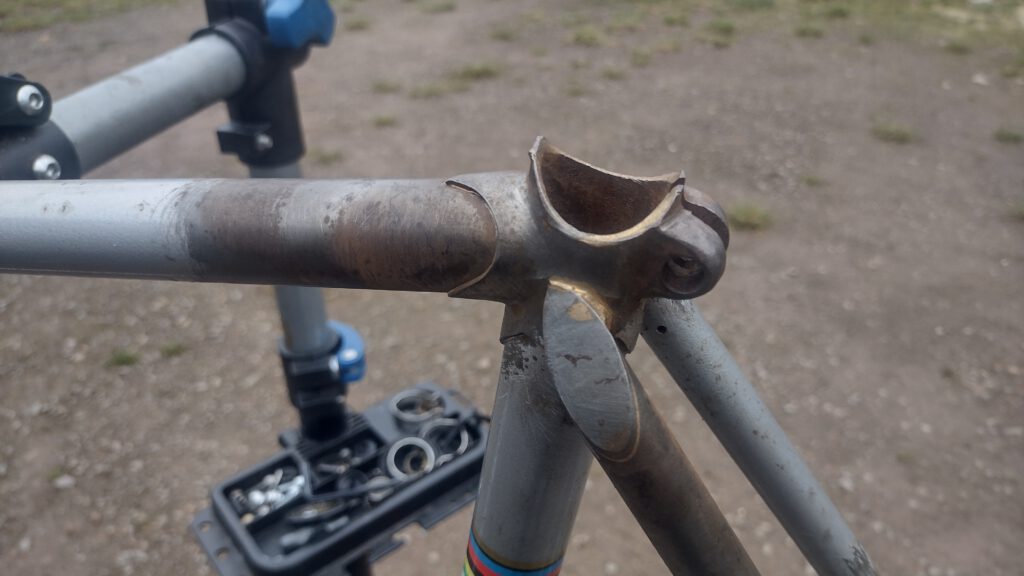
The paint was poor and the frame finishing was surprisingly rough for bikes sold as top models. I had seen plenty of Italian, German and French road bikes, but none finished quite like these. There were messy brazed joints, roughly finished tubes and lugs, and small beads of brazing material in several places. My first thought was that these could not be PX10s.
I looked at photographs of other PX bikes with fresh eyes. Once I knew what to look for, I could see the same kinds of imperfections under the paint on other examples. The exact spots varied, but my frames were not alone.
That began the long saga of the two frames. I wanted to save them, so I started with the larger, 58 cm centre-to-top frame. The plan was to strip it, dress the lugs, deburr the rough areas and repaint it. Once I got started, I began thinking about gold plating the whole bike, probably inspired by the gold Simplex and Mafac components. I bought a small plating setup and polished the entire steel frame to a mirror finish.
Polishing took two full days. I took few photos at the time. After polishing I copper-plated the frame and polished it again. It looked terrific. My lack of experience caught up with me between nickel plating and gold plating, and the result was nowhere near what I wanted. Both frames sat for the next year. I still have photos of the copper-plated frame somewhere on my computer and will add them if I find them.
The 58 cm frame had been stripped, refinished, polished and copper-plated. The 56 cm frame was still untouched. After about a year I tried gold again on the larger one, but I was short of time and ended up removing the copper and priming the steel to prevent rust. The two frames spent another two years in storage.
The arrival of the laser cleaner gave me a reason to return to the project. I started with the untouched 56 cm frame. It would become the first frame I stripped with the laser and then rebuilt.
Since I had been posting road bike build videos on YouTube, I decided to film the 56 cm Peugeot PX project. Several short videos would follow the work on the rough parts of the frame, the paint and the build.
This is where the workshop work begins, with the frame held in the stand.
Before the videos, here are photos of what was under the paint and of the earlier work on the 58 cm frame.
First, the 56 cm PX10.
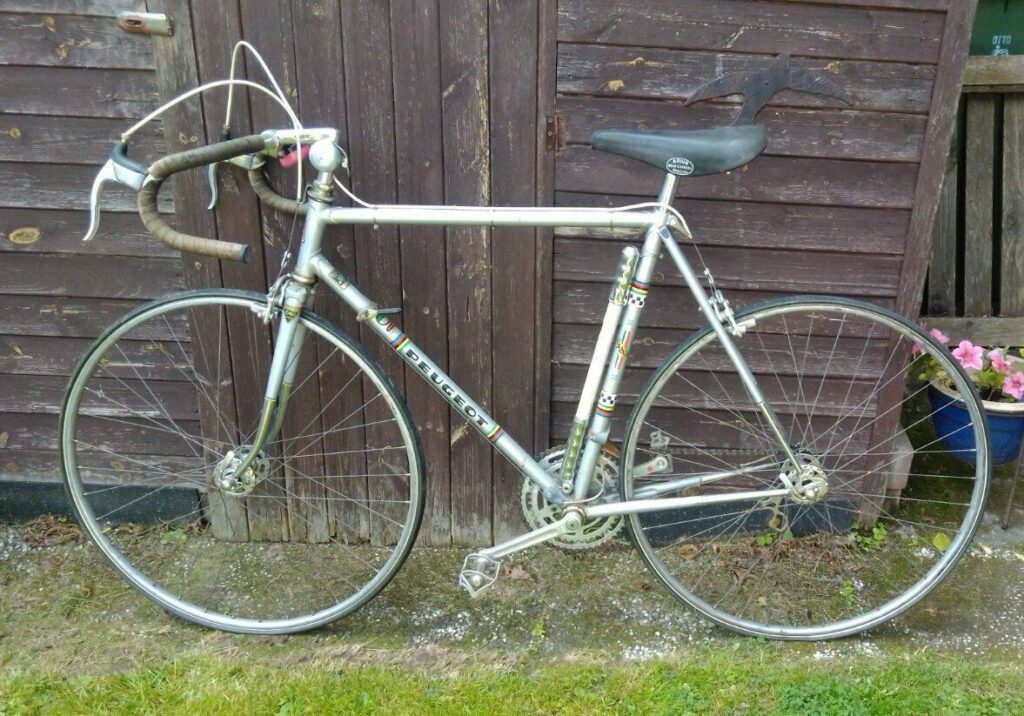
And here is the 58 cm PX10.
The bare seatpost area on the 58 cm frame shows the rough finishing under the paint.
Here is the down tube with the bottle-cage bosses. Compare how it looked under the paint with how I think it should have been finished on a top model, whether PX10 or PY10. I had seen similar finishing on department-store bikes. In the painted photo, though, it looks fine at first glance. 🙂
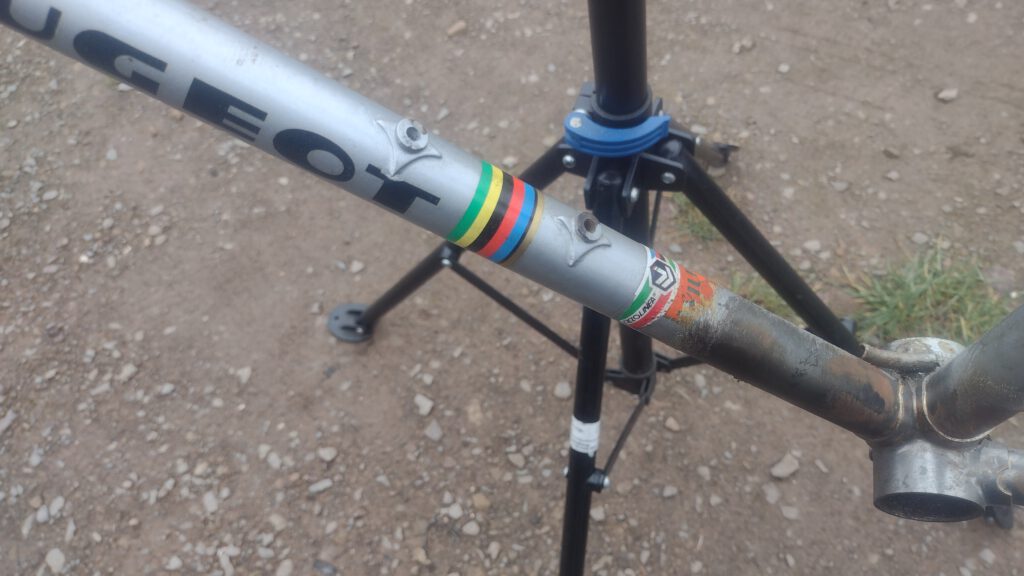
This is what it looked like with the paint removed, in a spot that would have been easy to finish properly.
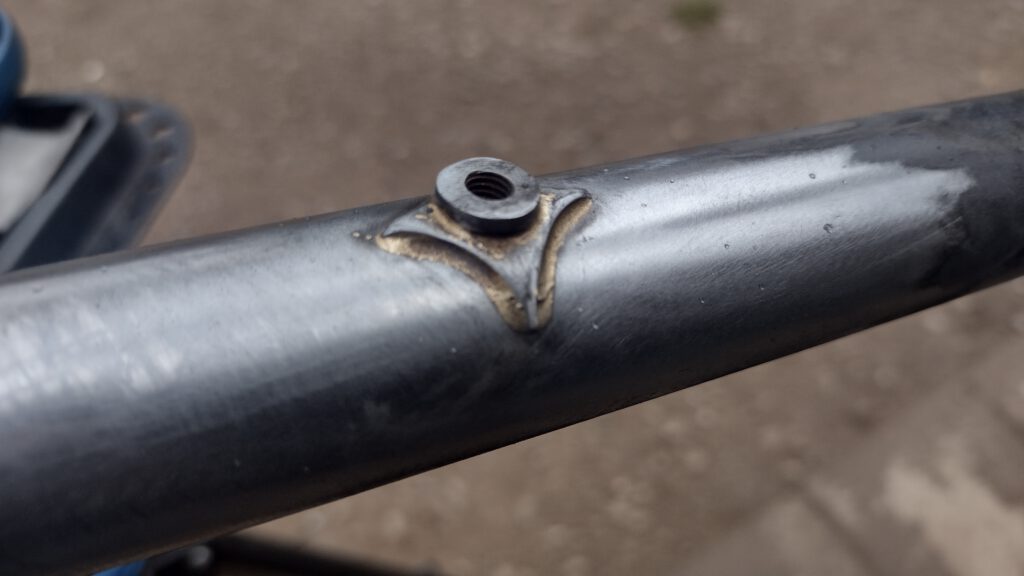
After some work with a file and abrasive paper, it began to look the way I would expect a top model to look.
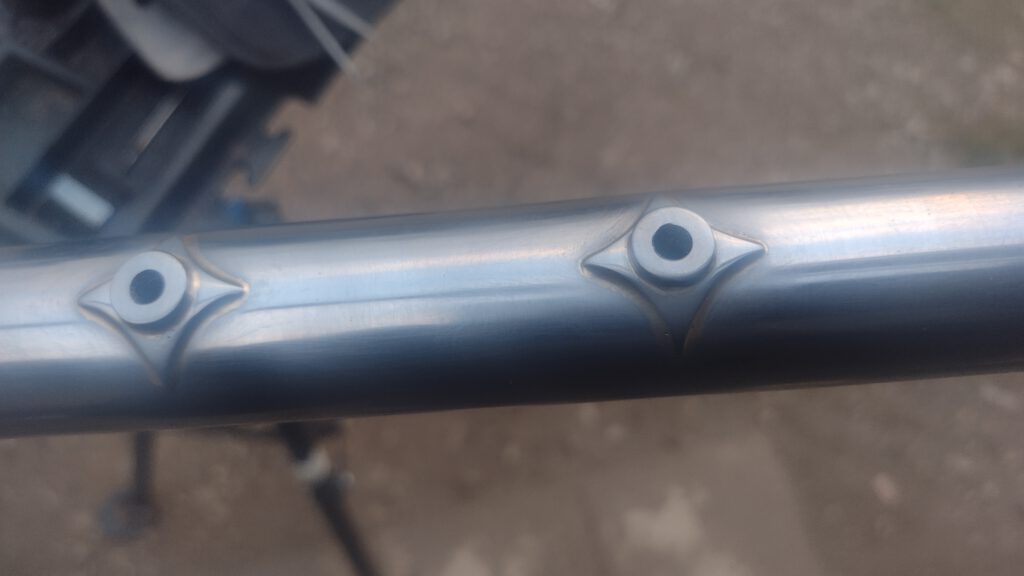
The rest was much the same. The lugs had sharp edges and there was excess brazing material around them. I had already removed some beads before taking these photos. Here are a few views:
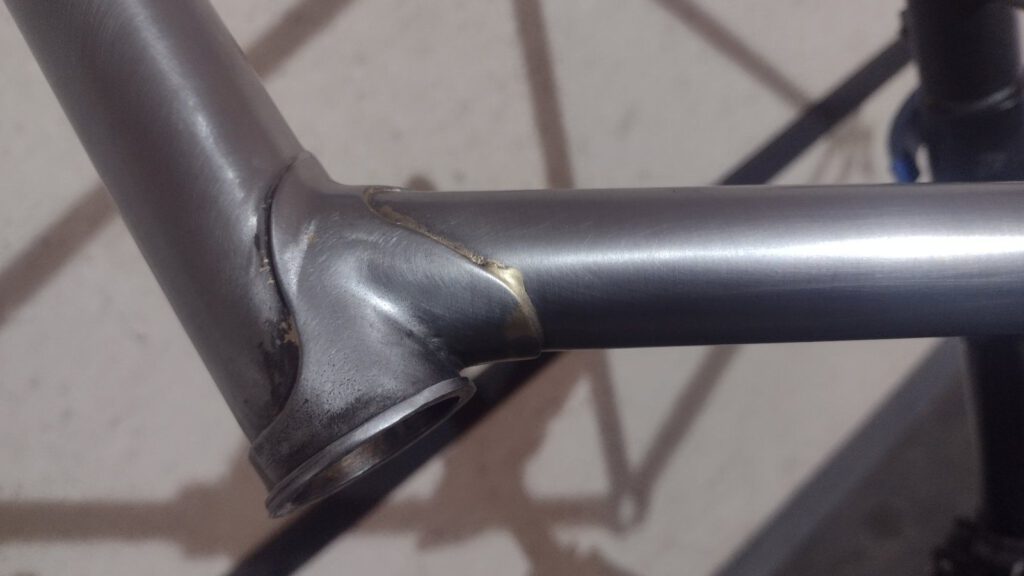
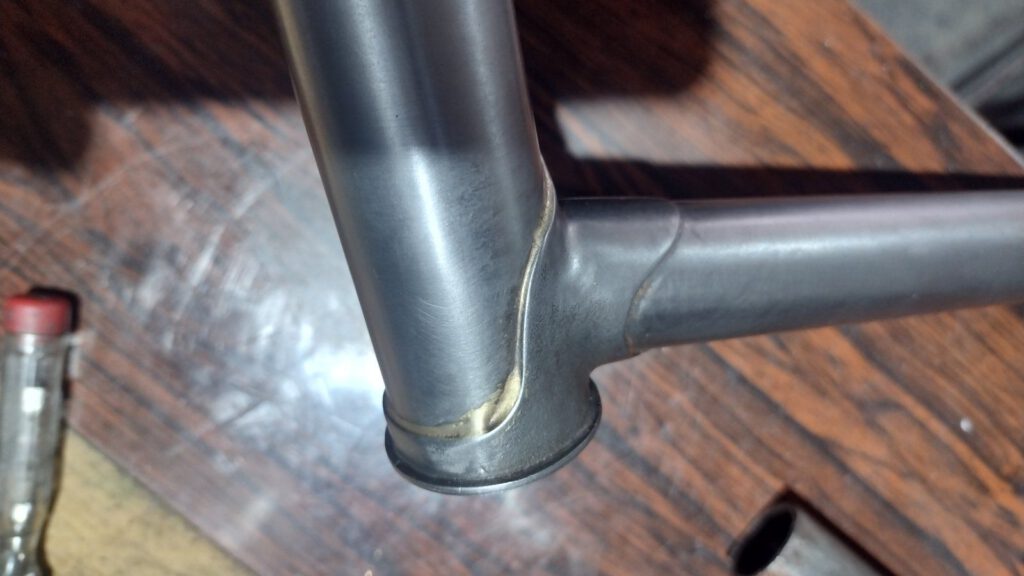
After careful work with a rotary tool, file and abrasive paper, the lugs looked like this:
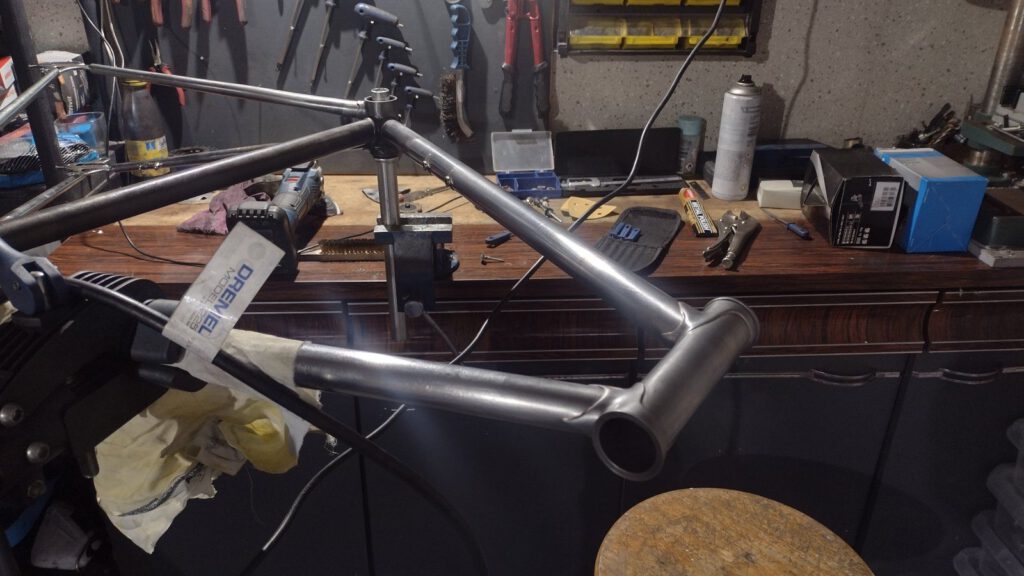
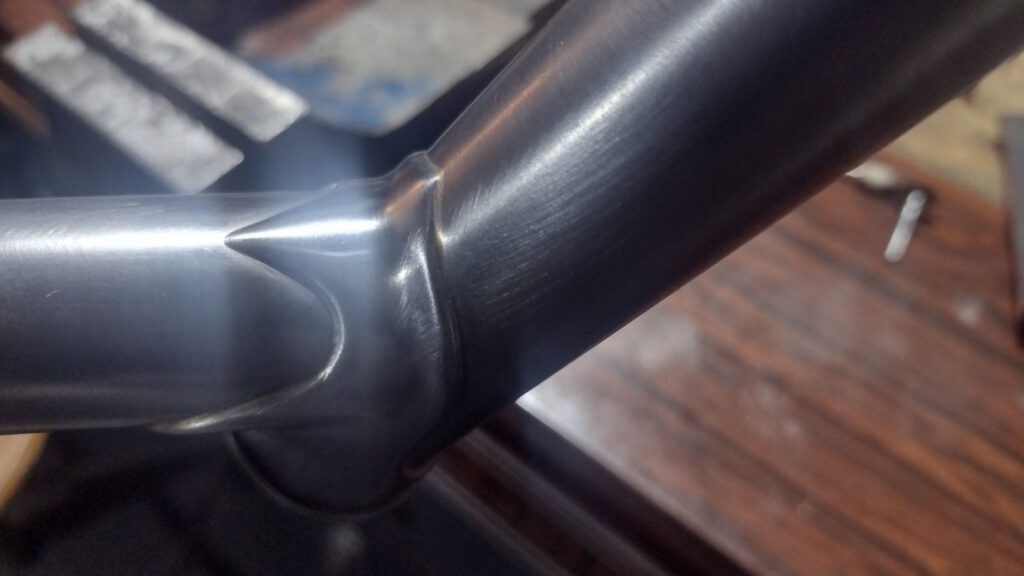
That was how the 58 cm frame reached the polishing stage. The current project is the 56 cm frame. Here are a few photos from about three years earlier. The seat-tube lug was the worst spot. It looked as if the finishing had been abandoned halfway through and simply painted over. 🙂
Here are the photos of the 56 cm frame.
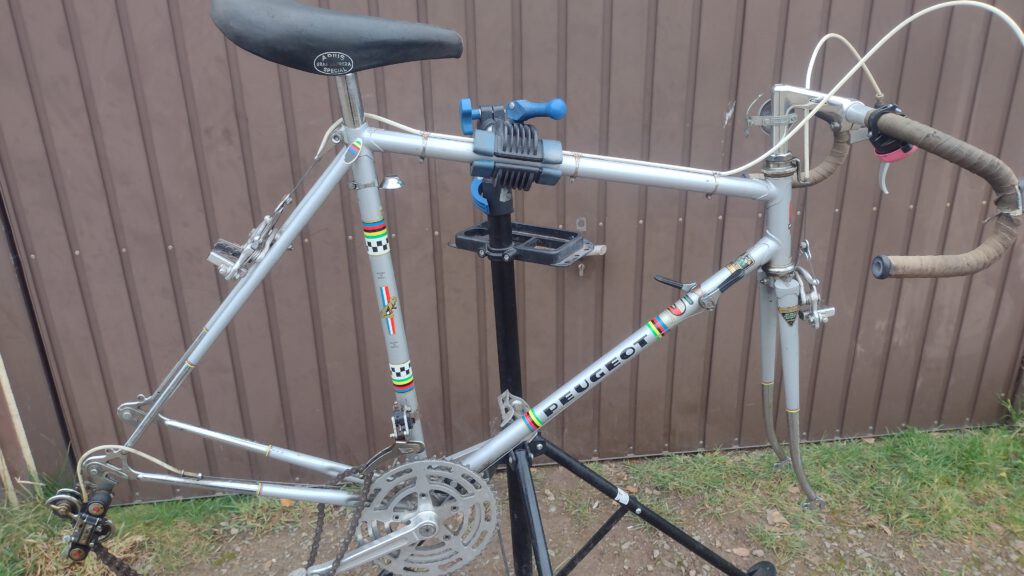
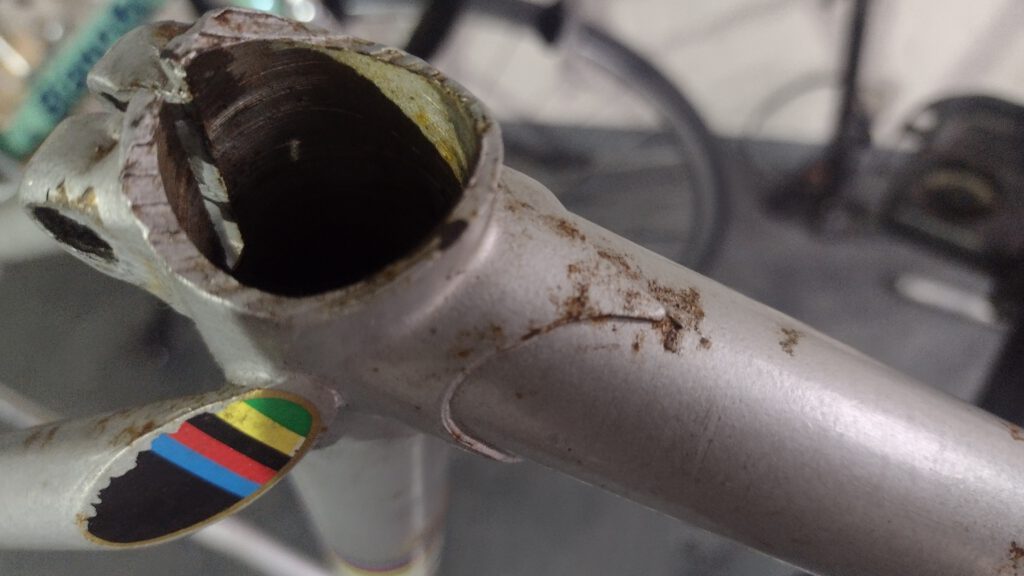
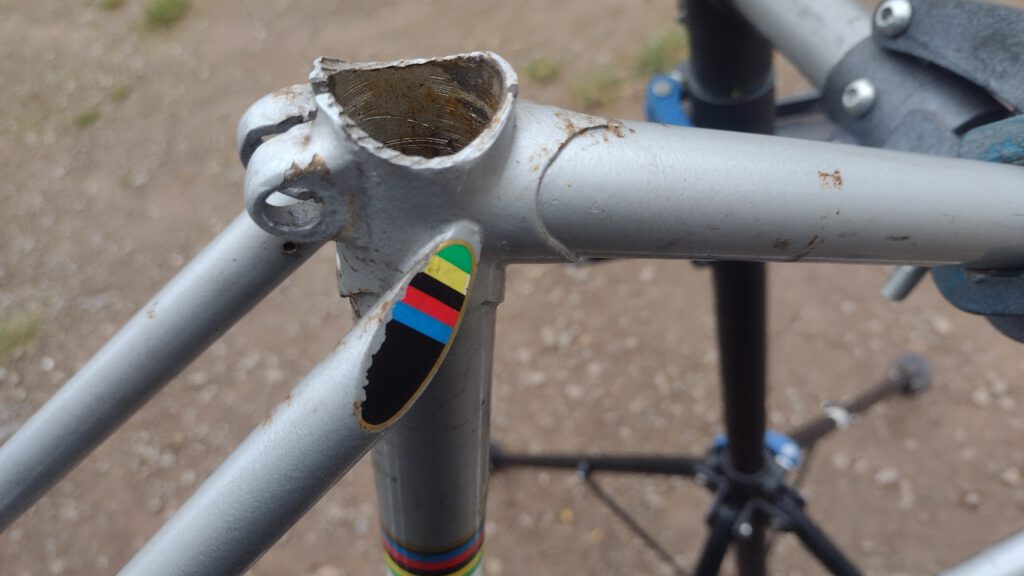
That is the background. After years away from it, I am finally finishing the frame, and this time I am filming the process.
Enjoy part one.
Next comes the work on the lugs.
Finally finished!
After a long time, the PX10 project is complete. I did not have time to film the assembly before taking the bike to the show in Geel, Belgium. There was still quite a bit to do before it was ready.
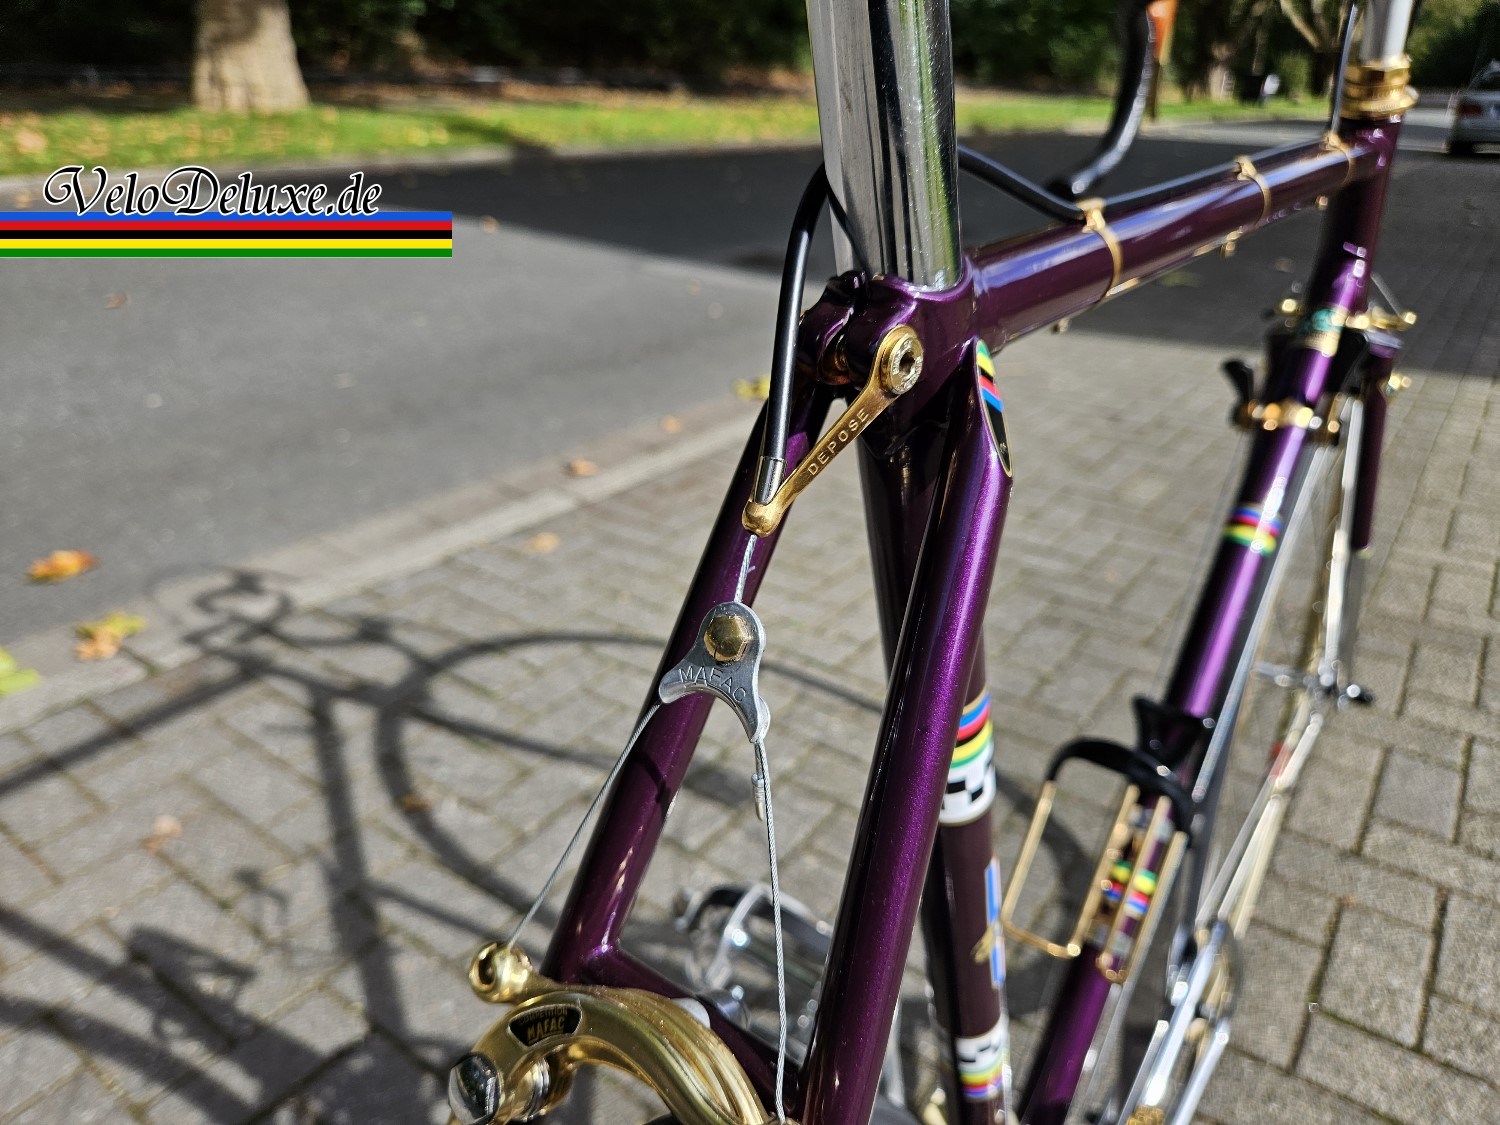
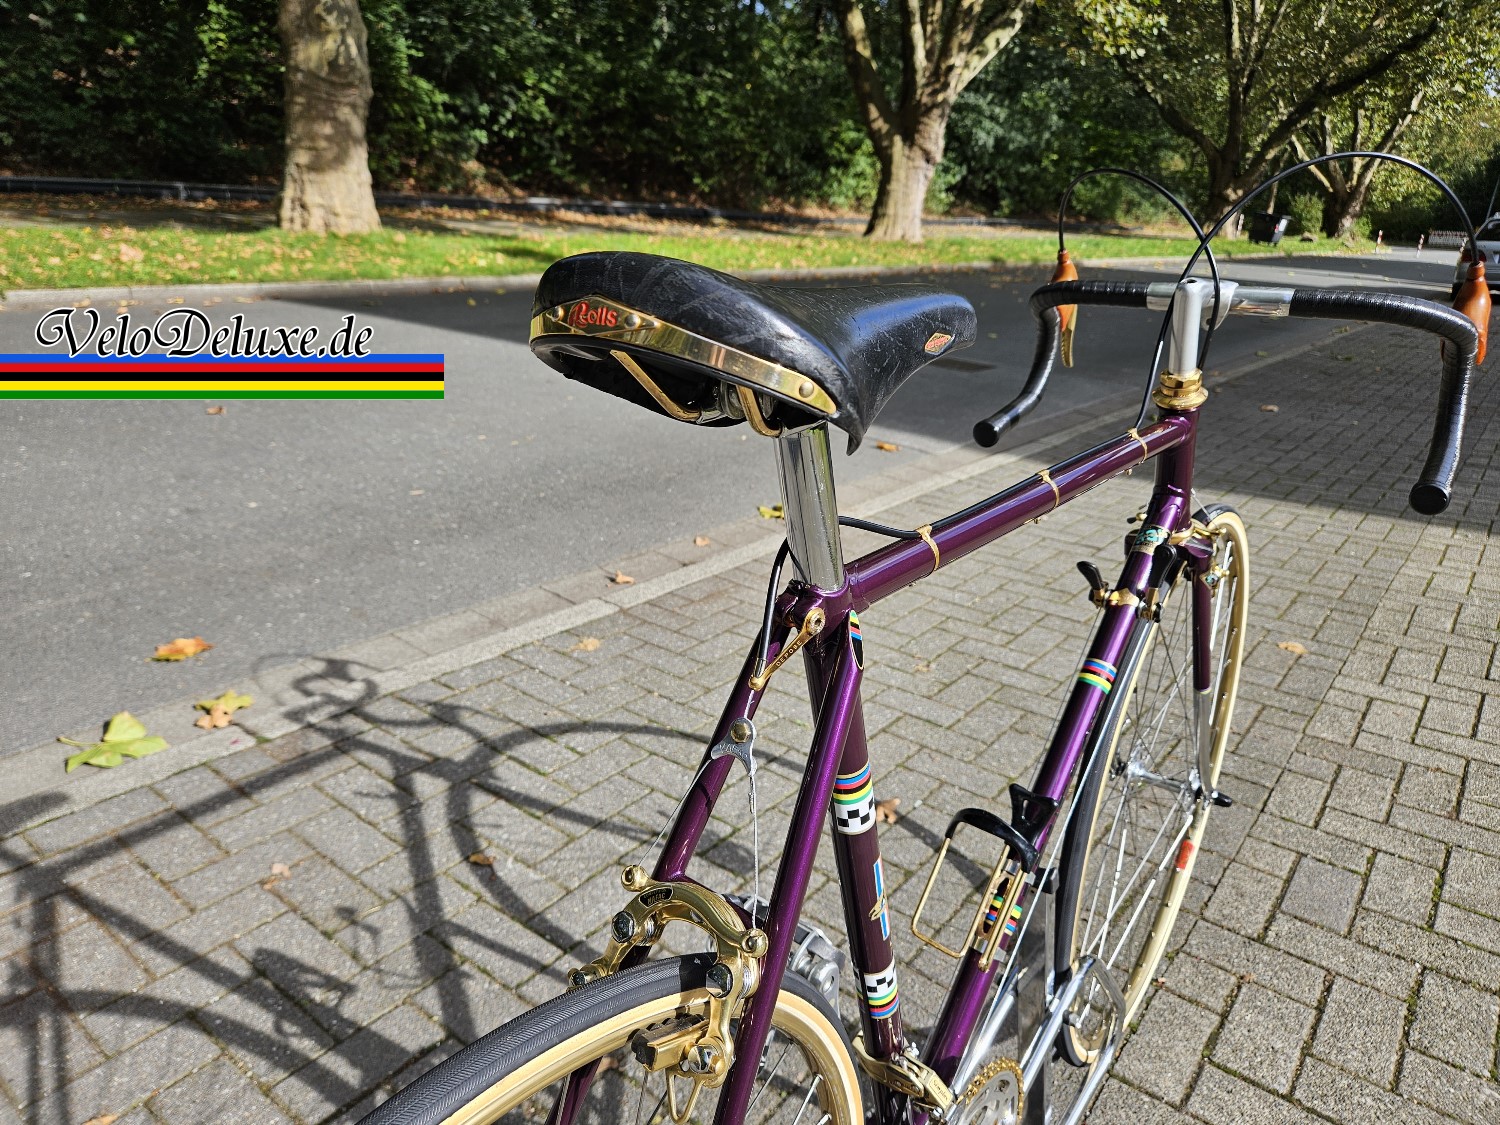
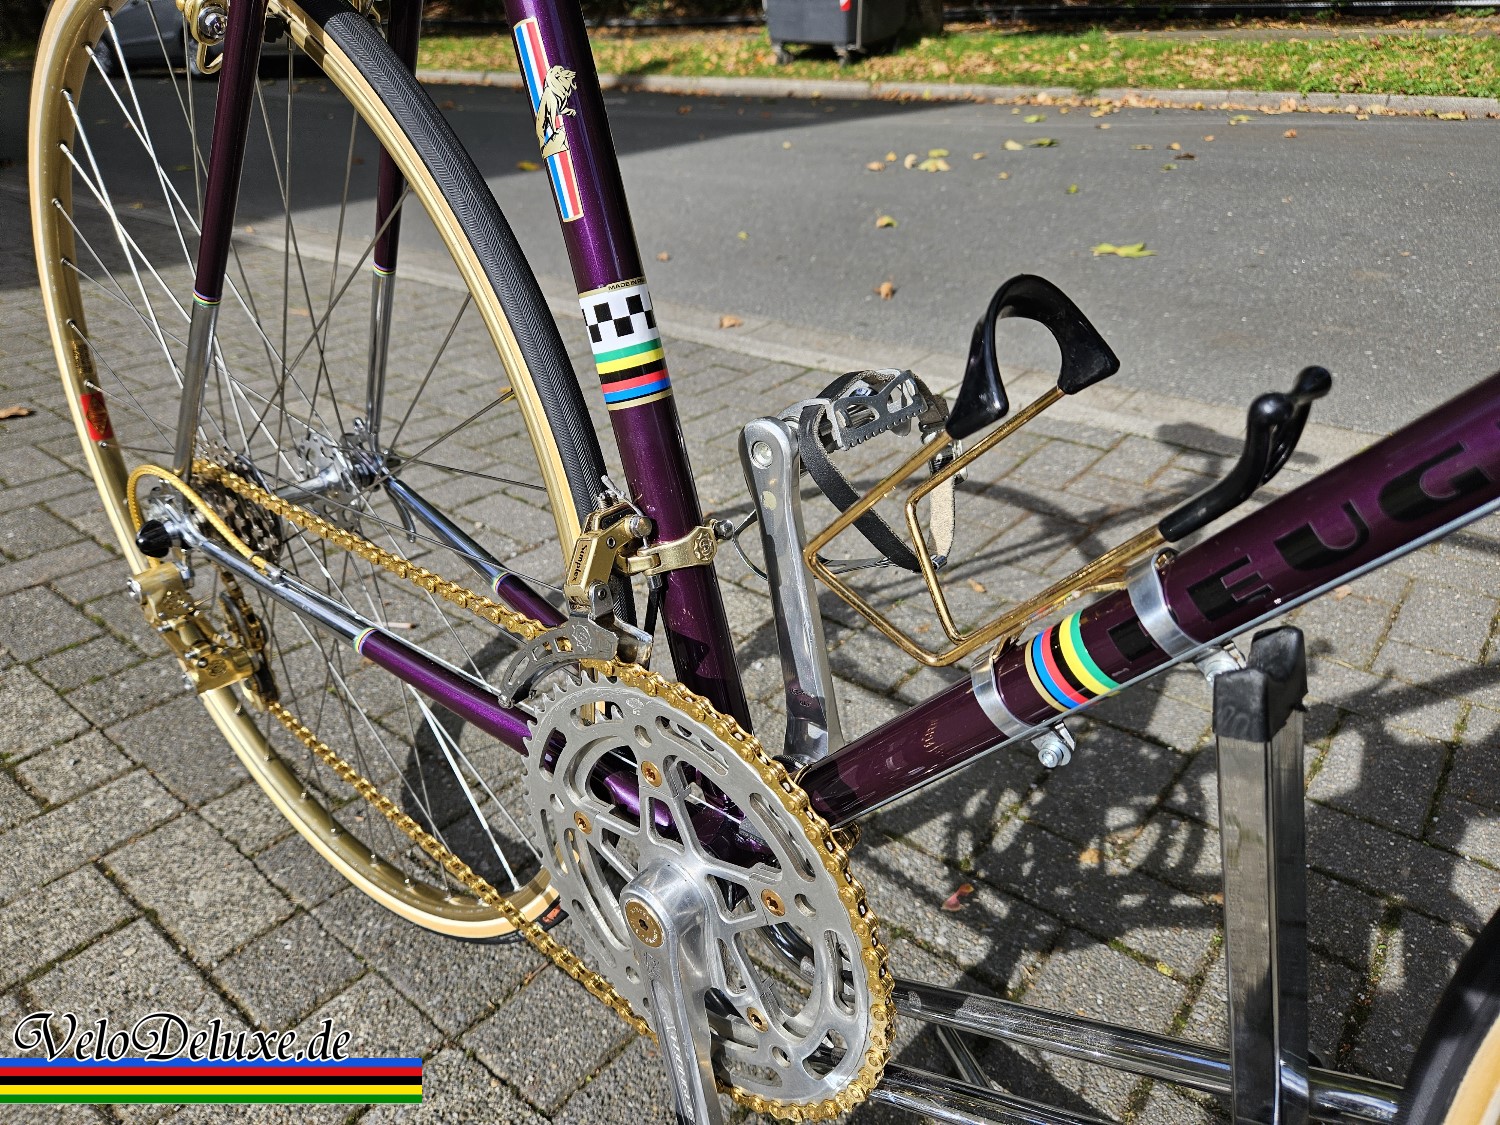
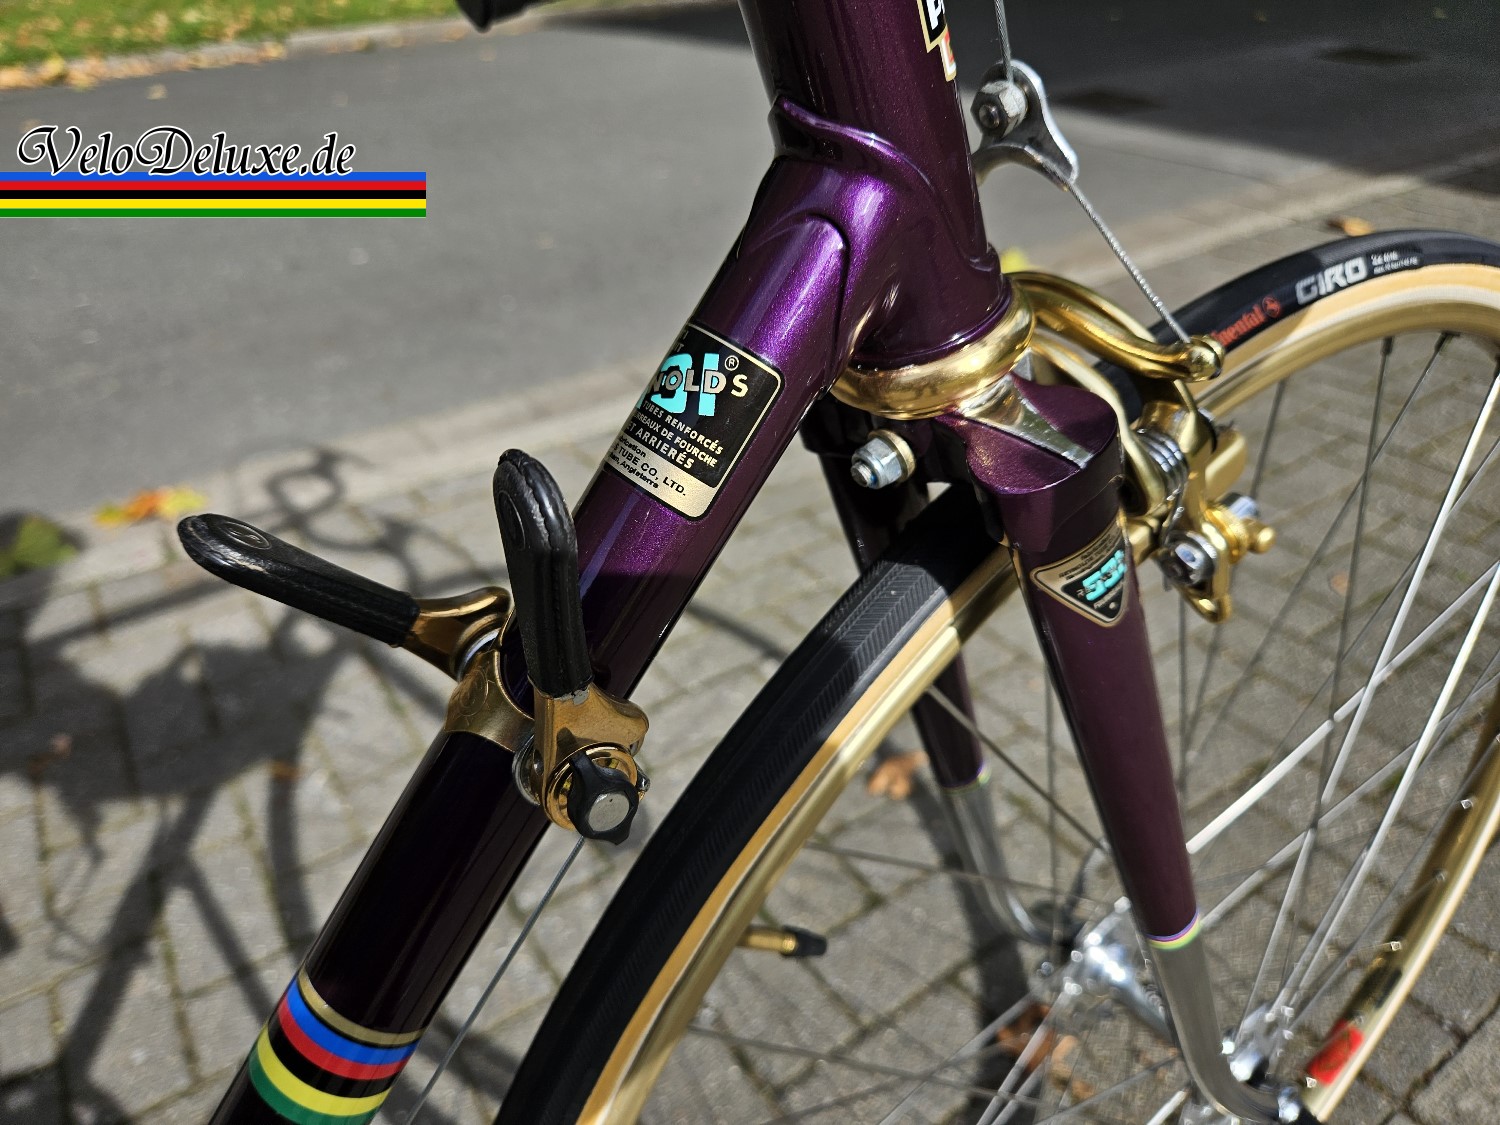
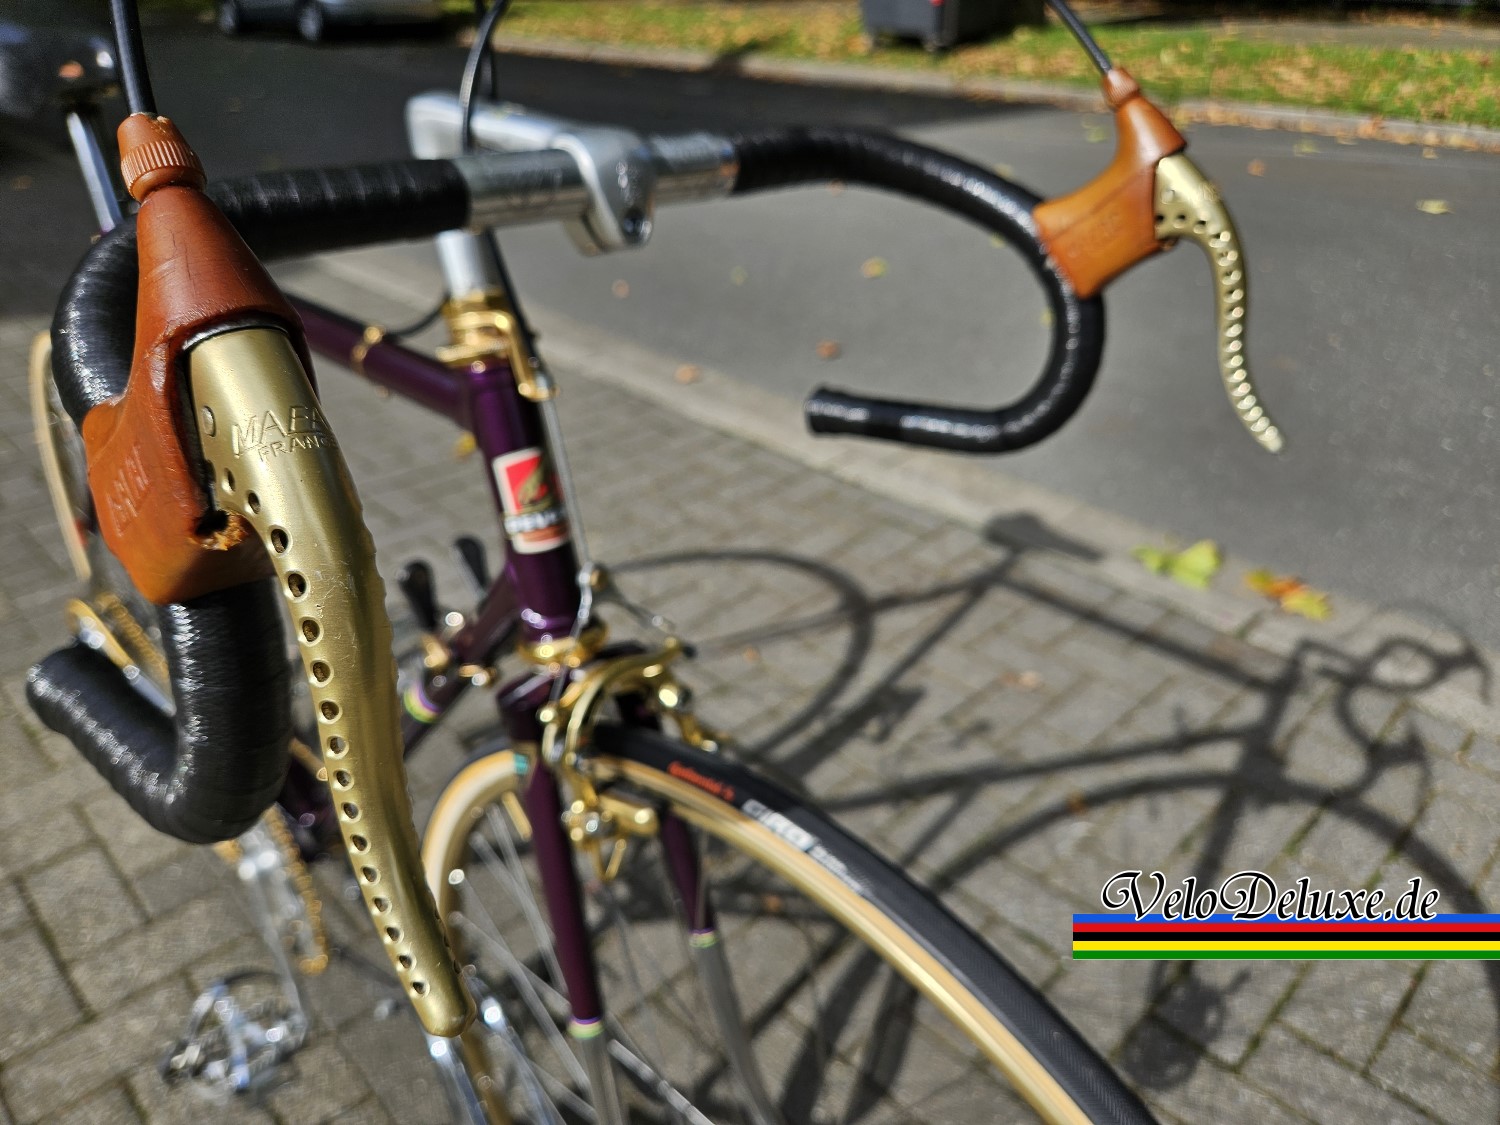
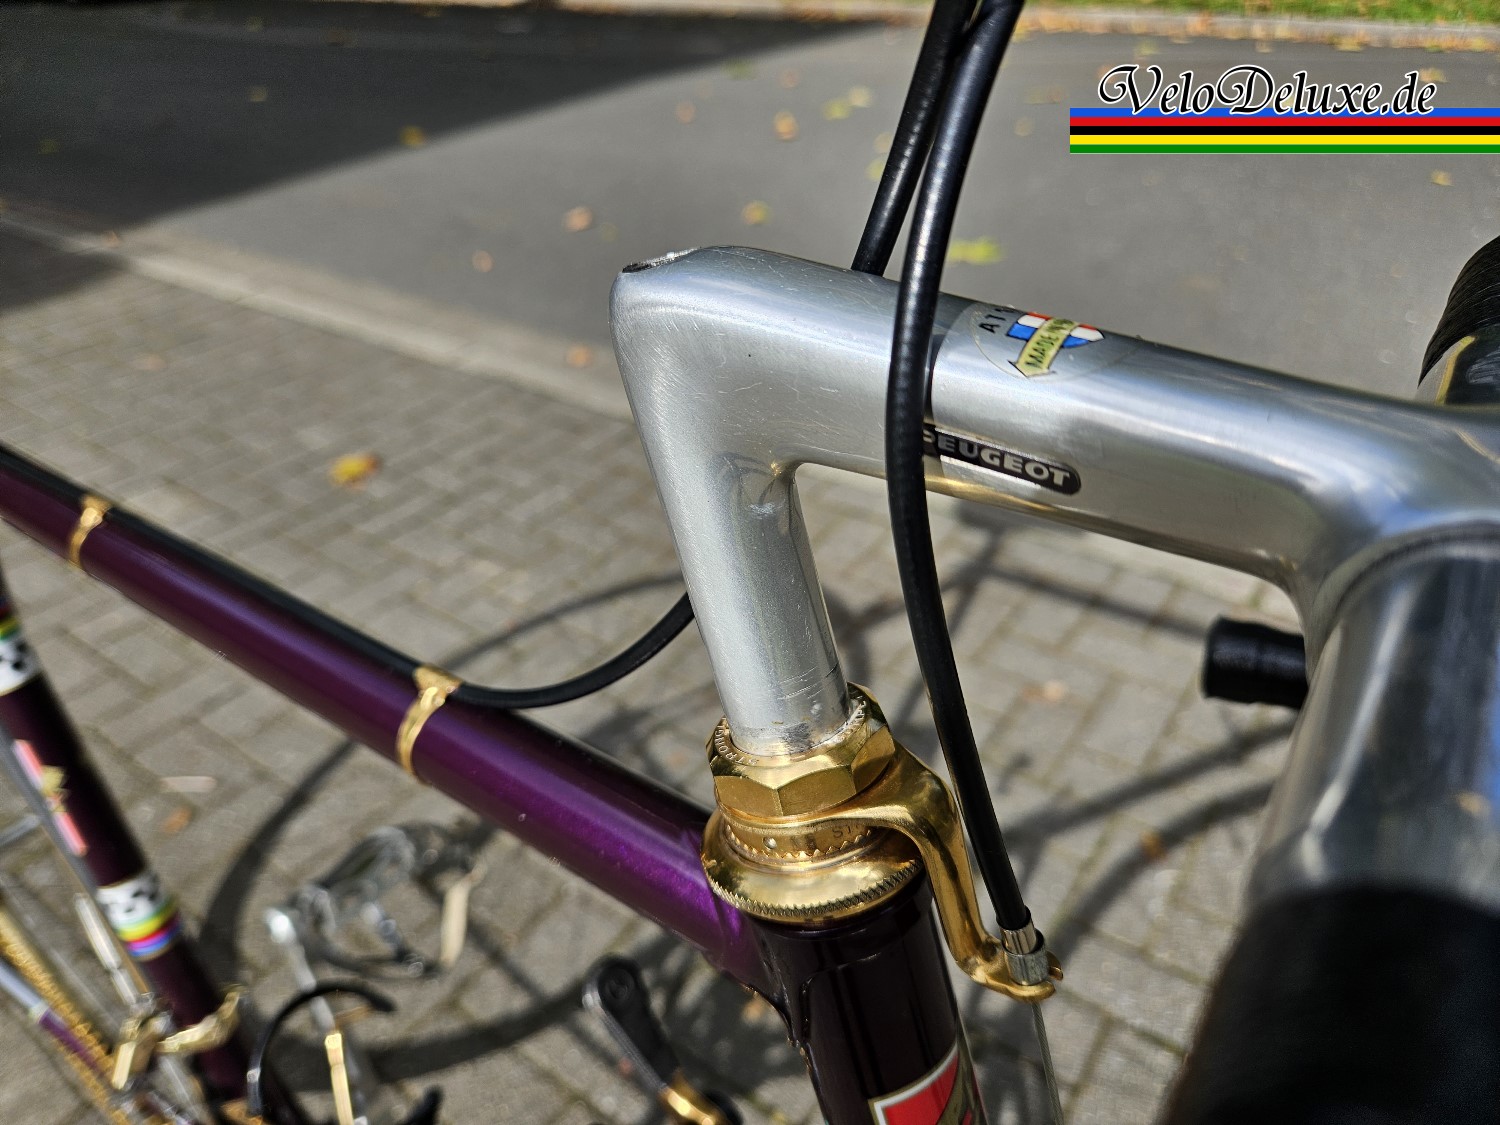
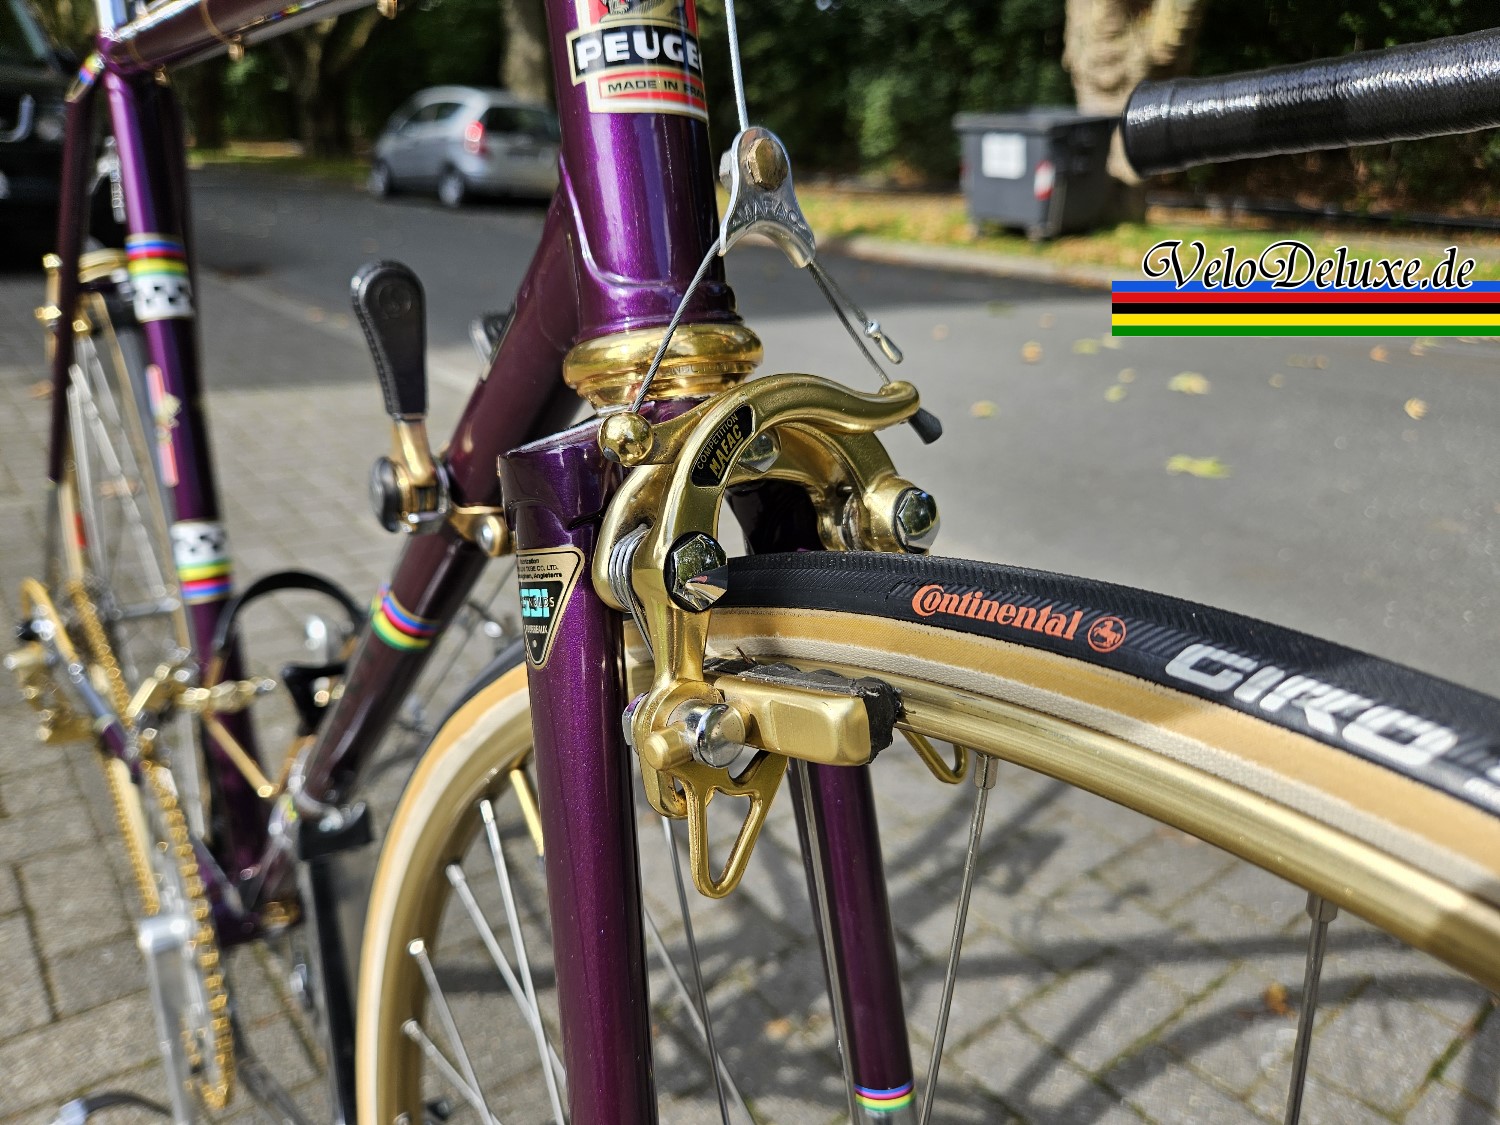
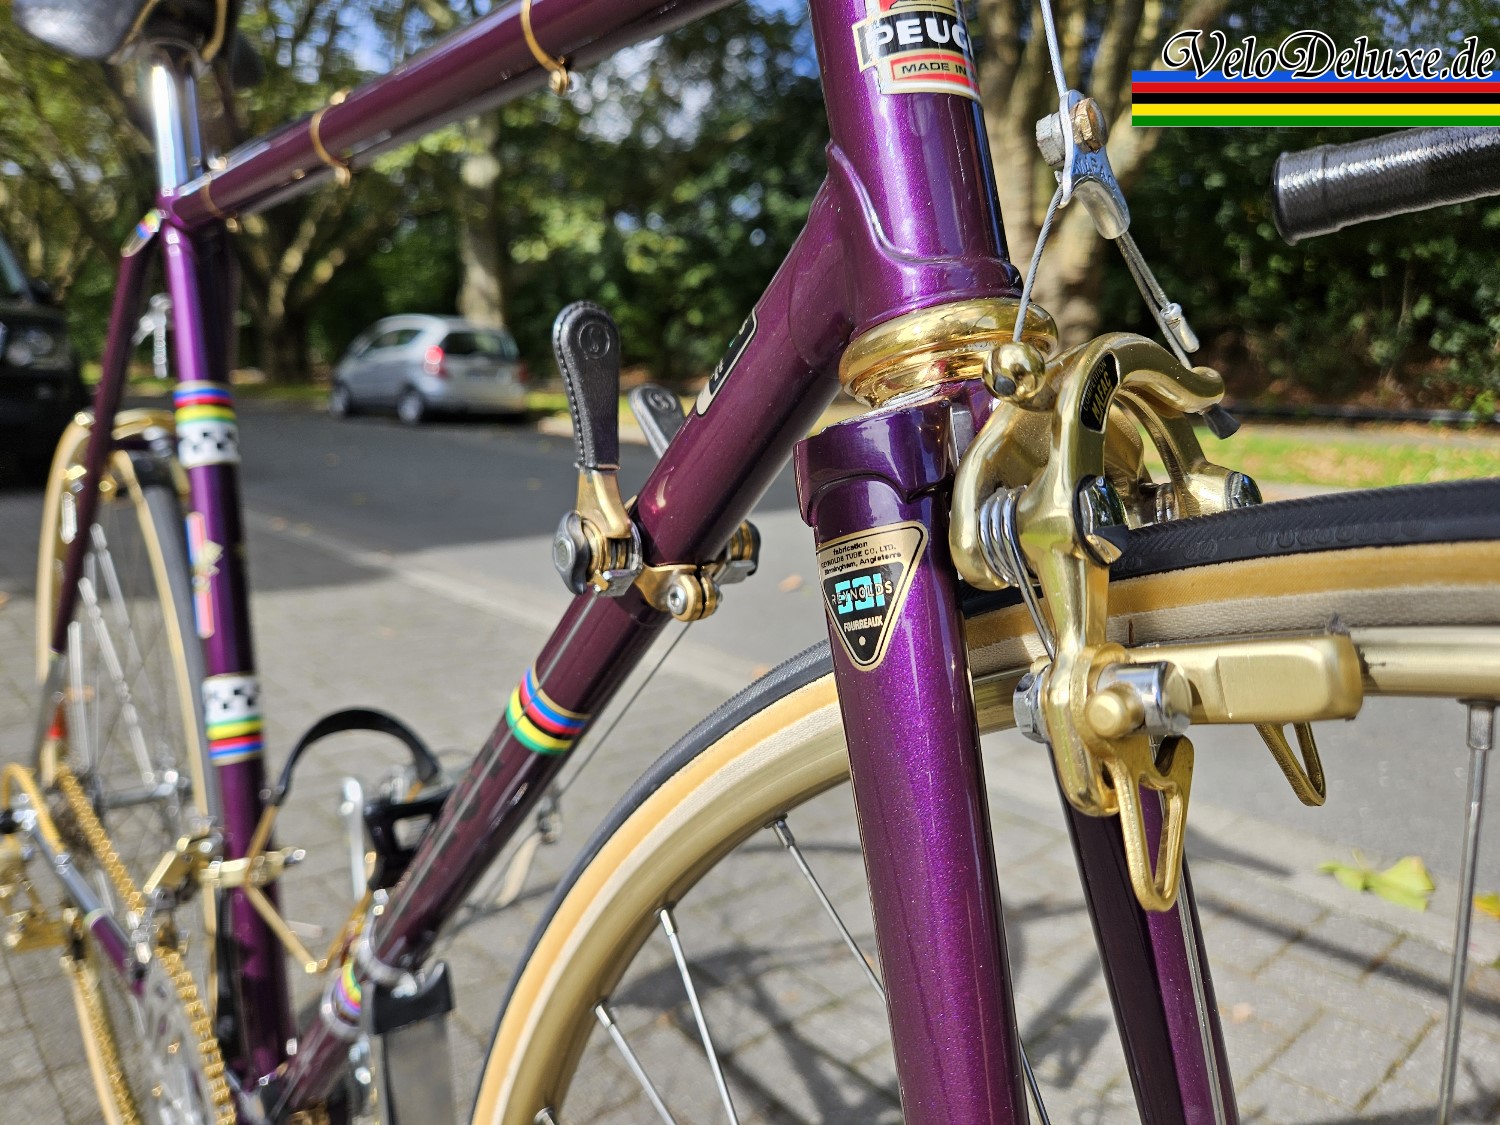
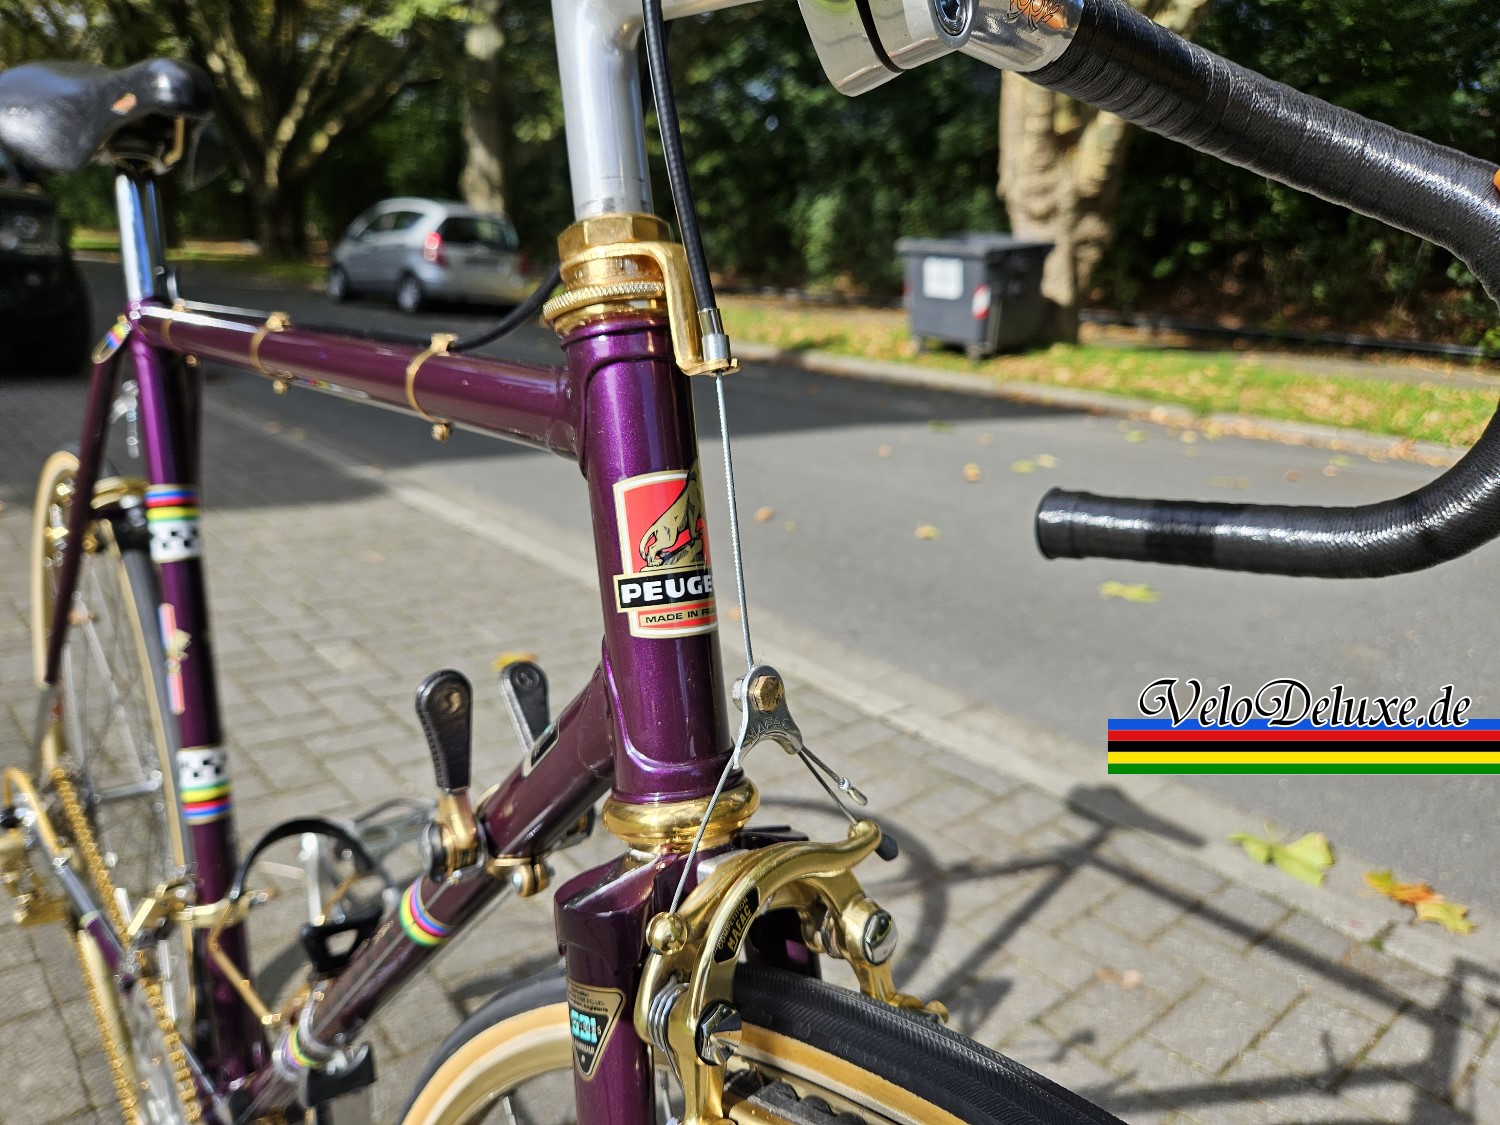
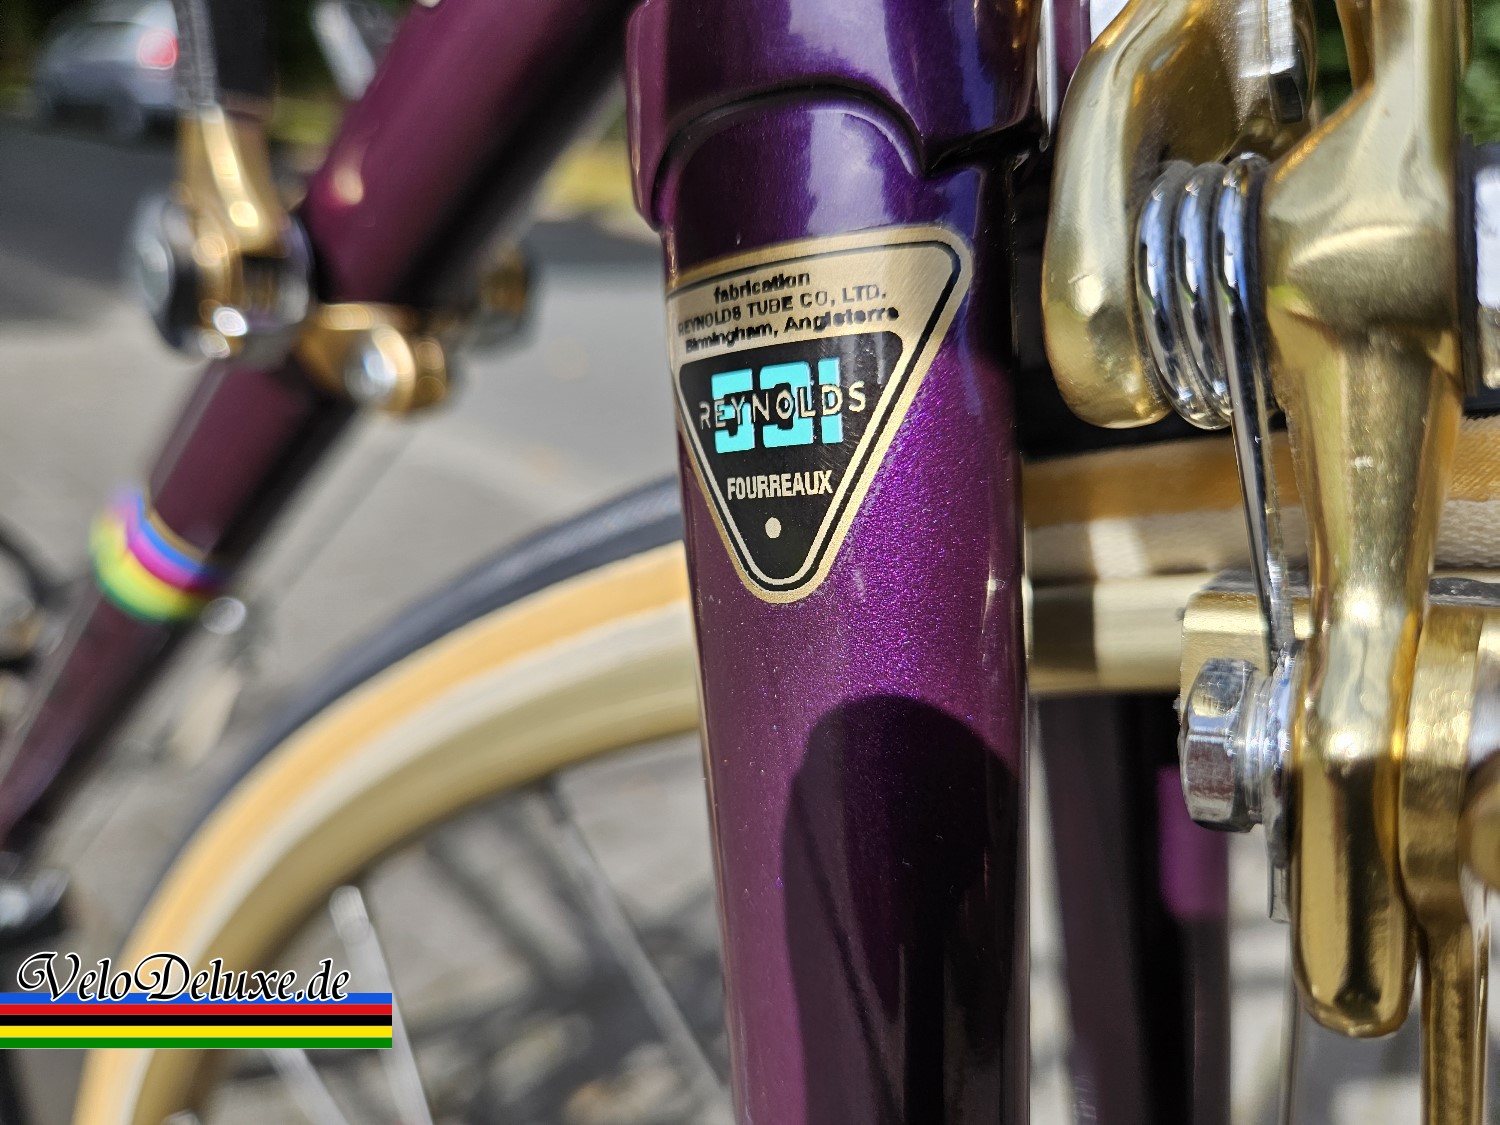
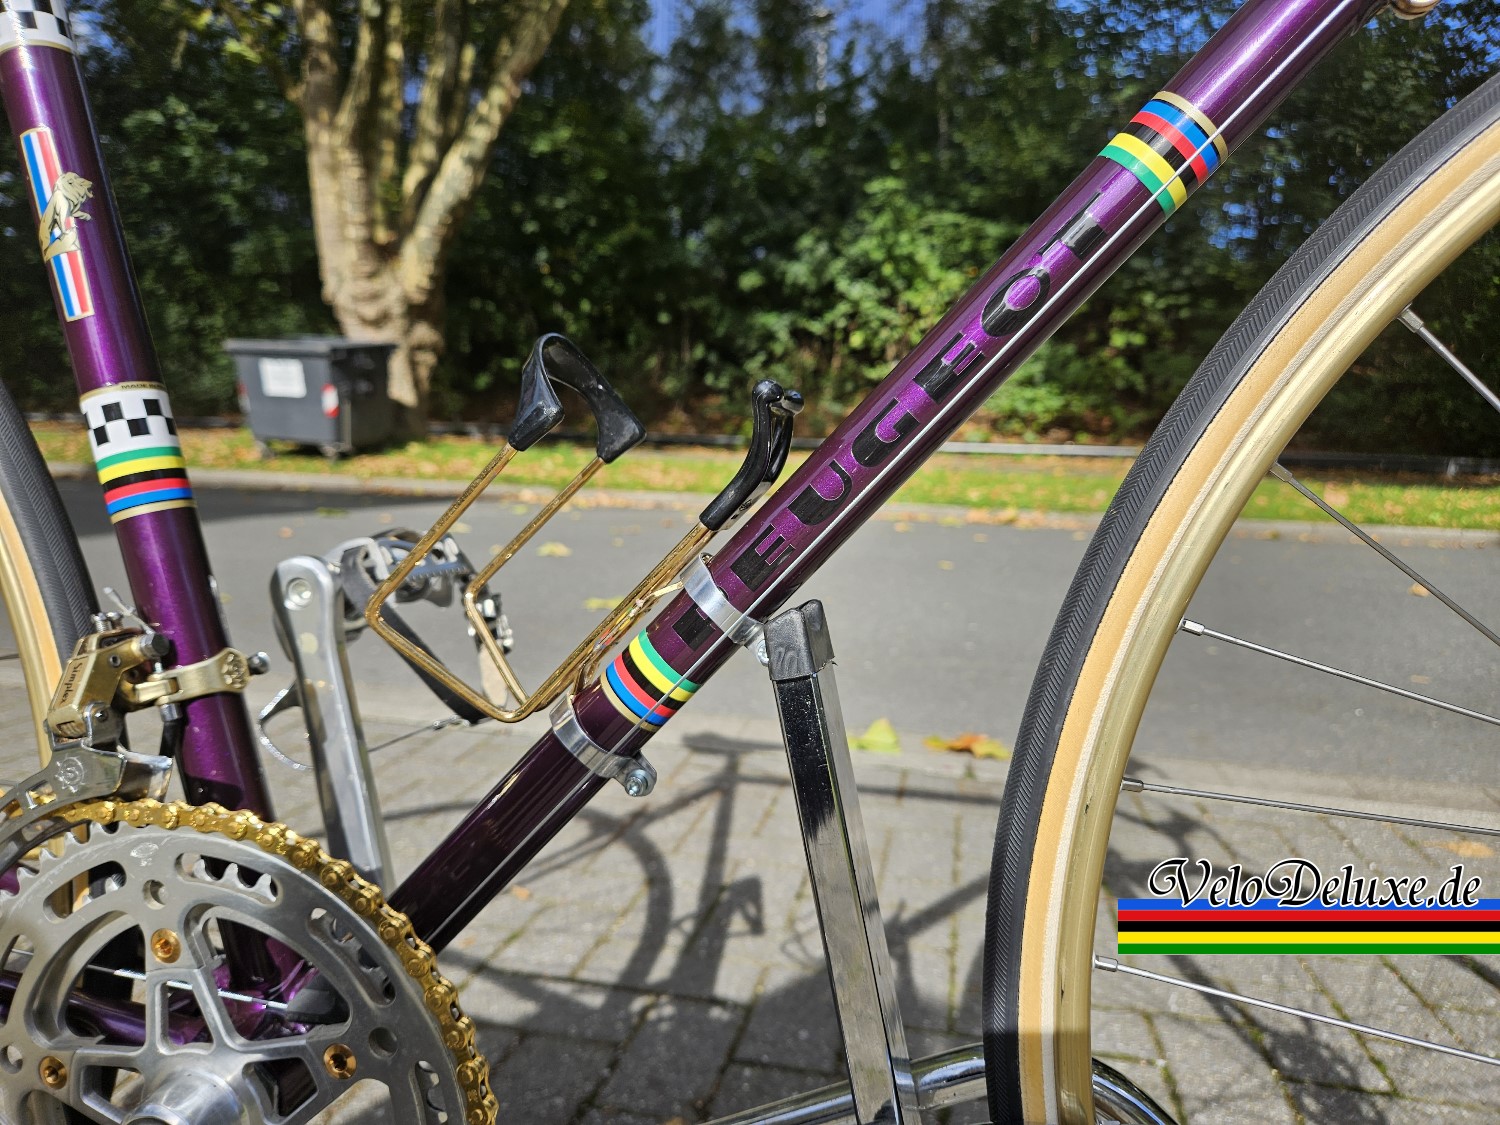
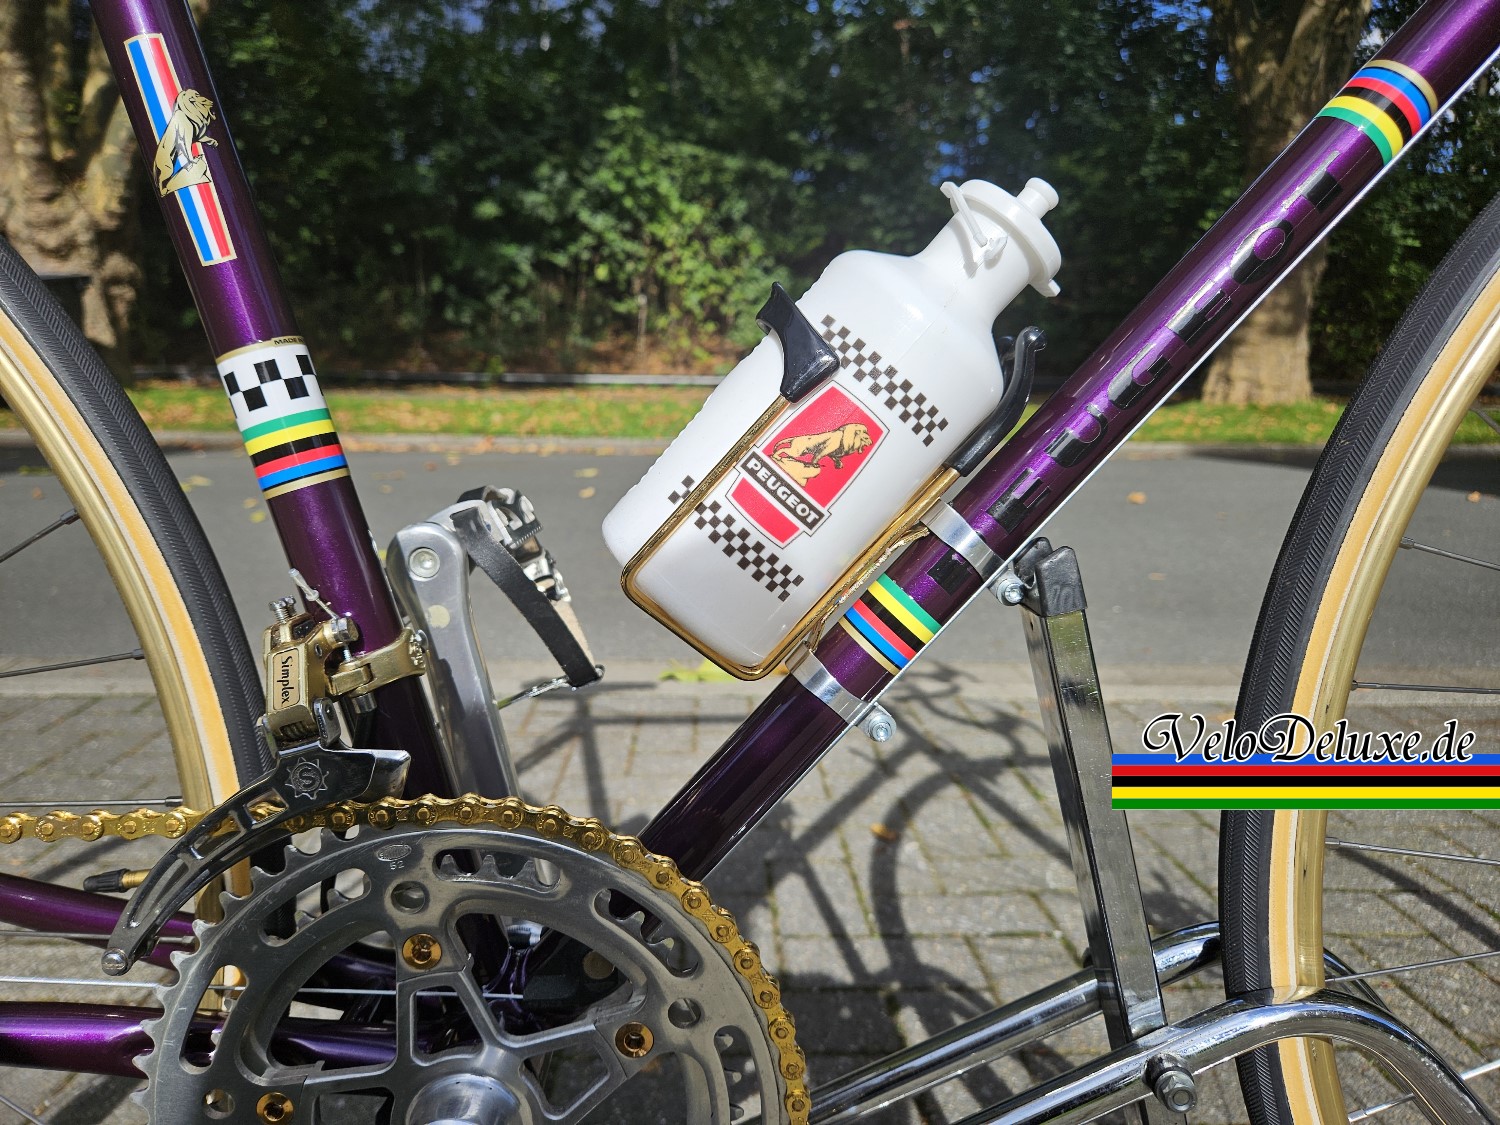
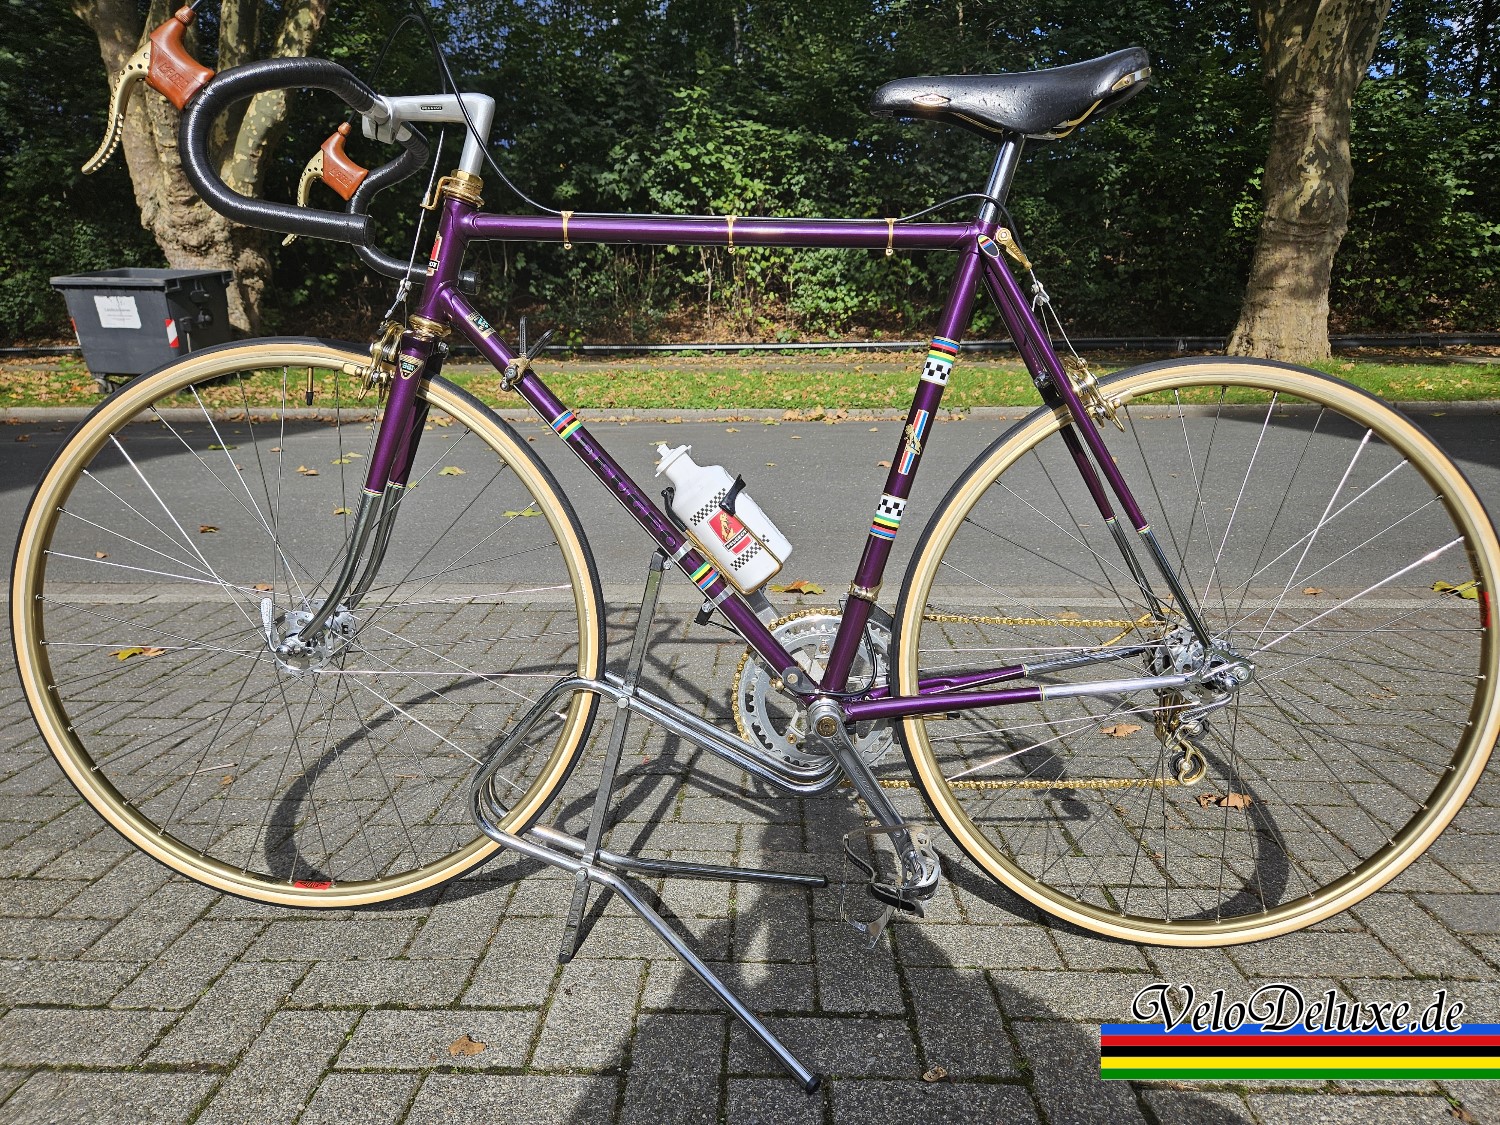
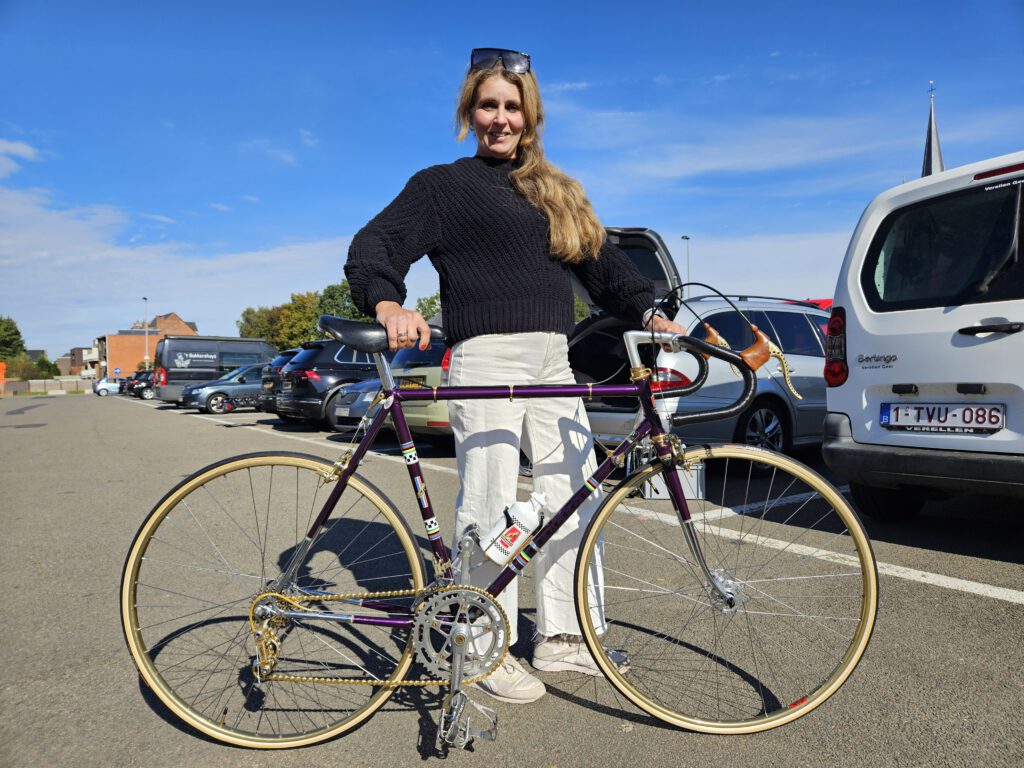
After the frame work shown in the videos, I primed it and chose a colour. I had been thinking about purple because it looks so good with gold. A local automotive paint supplier in Herne mixed paint on site. I could not find a Peugeot shade I liked, but I found one from Citroën. I sprayed the base coat myself, used decals I had put aside long ago and had a body shop apply the clear coat over the decals. With the frame finished, I could prepare the components.
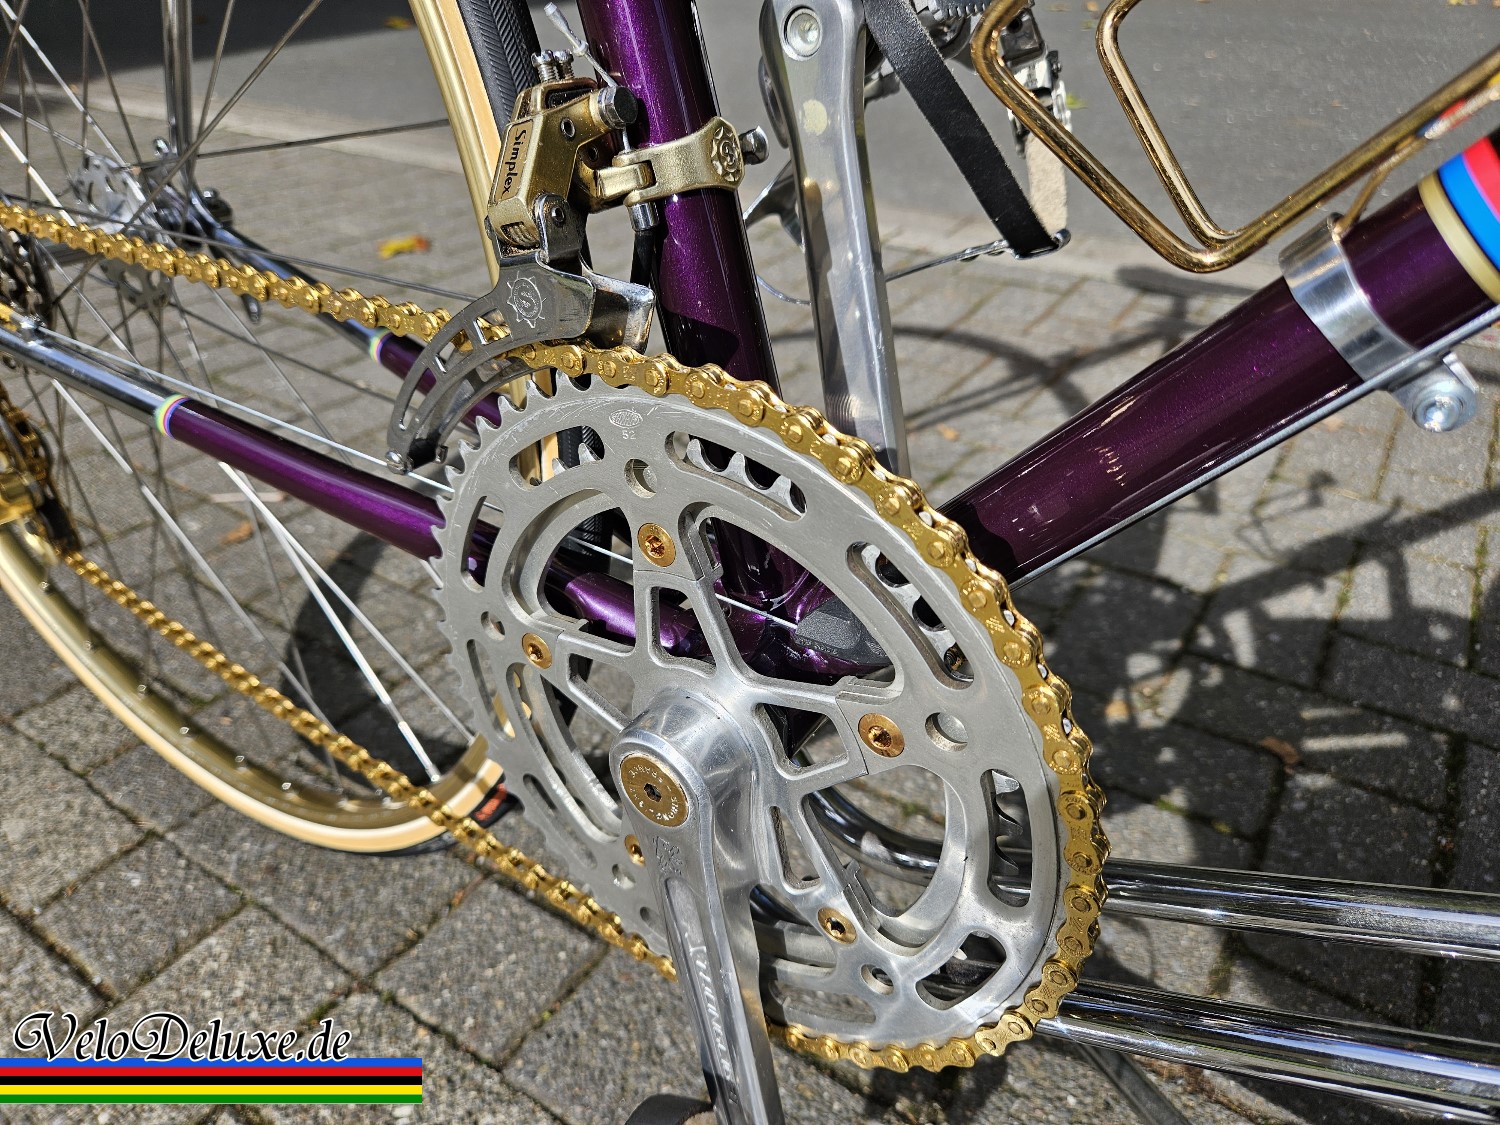
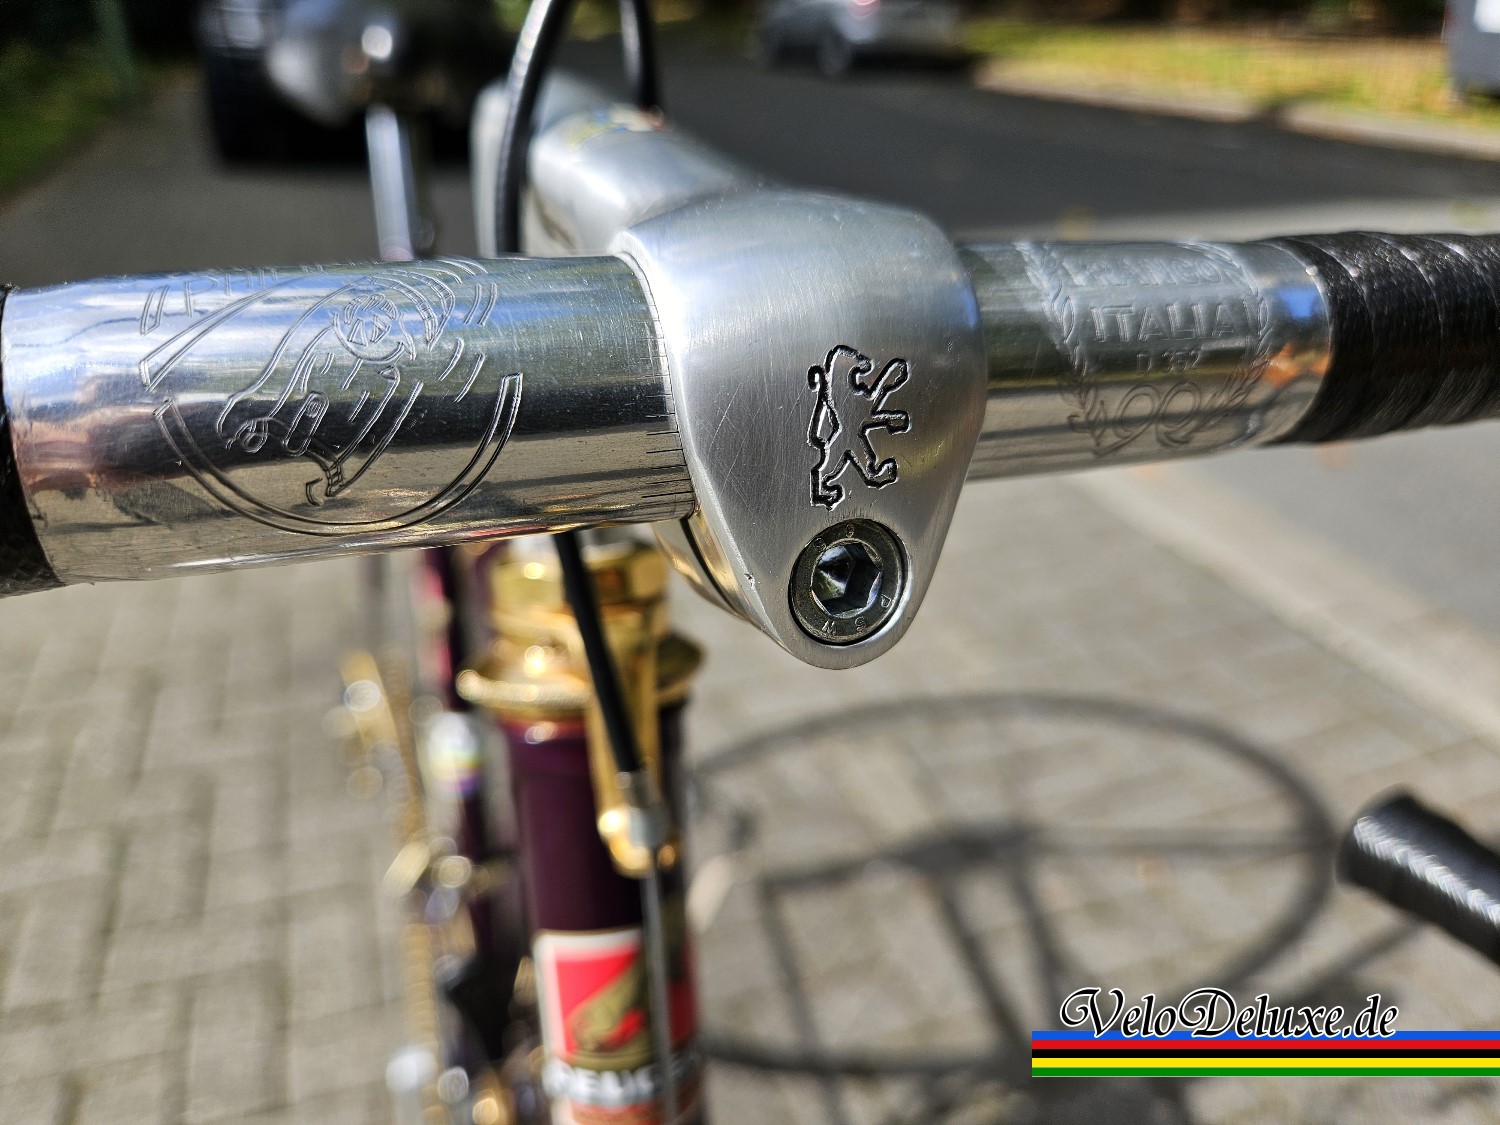
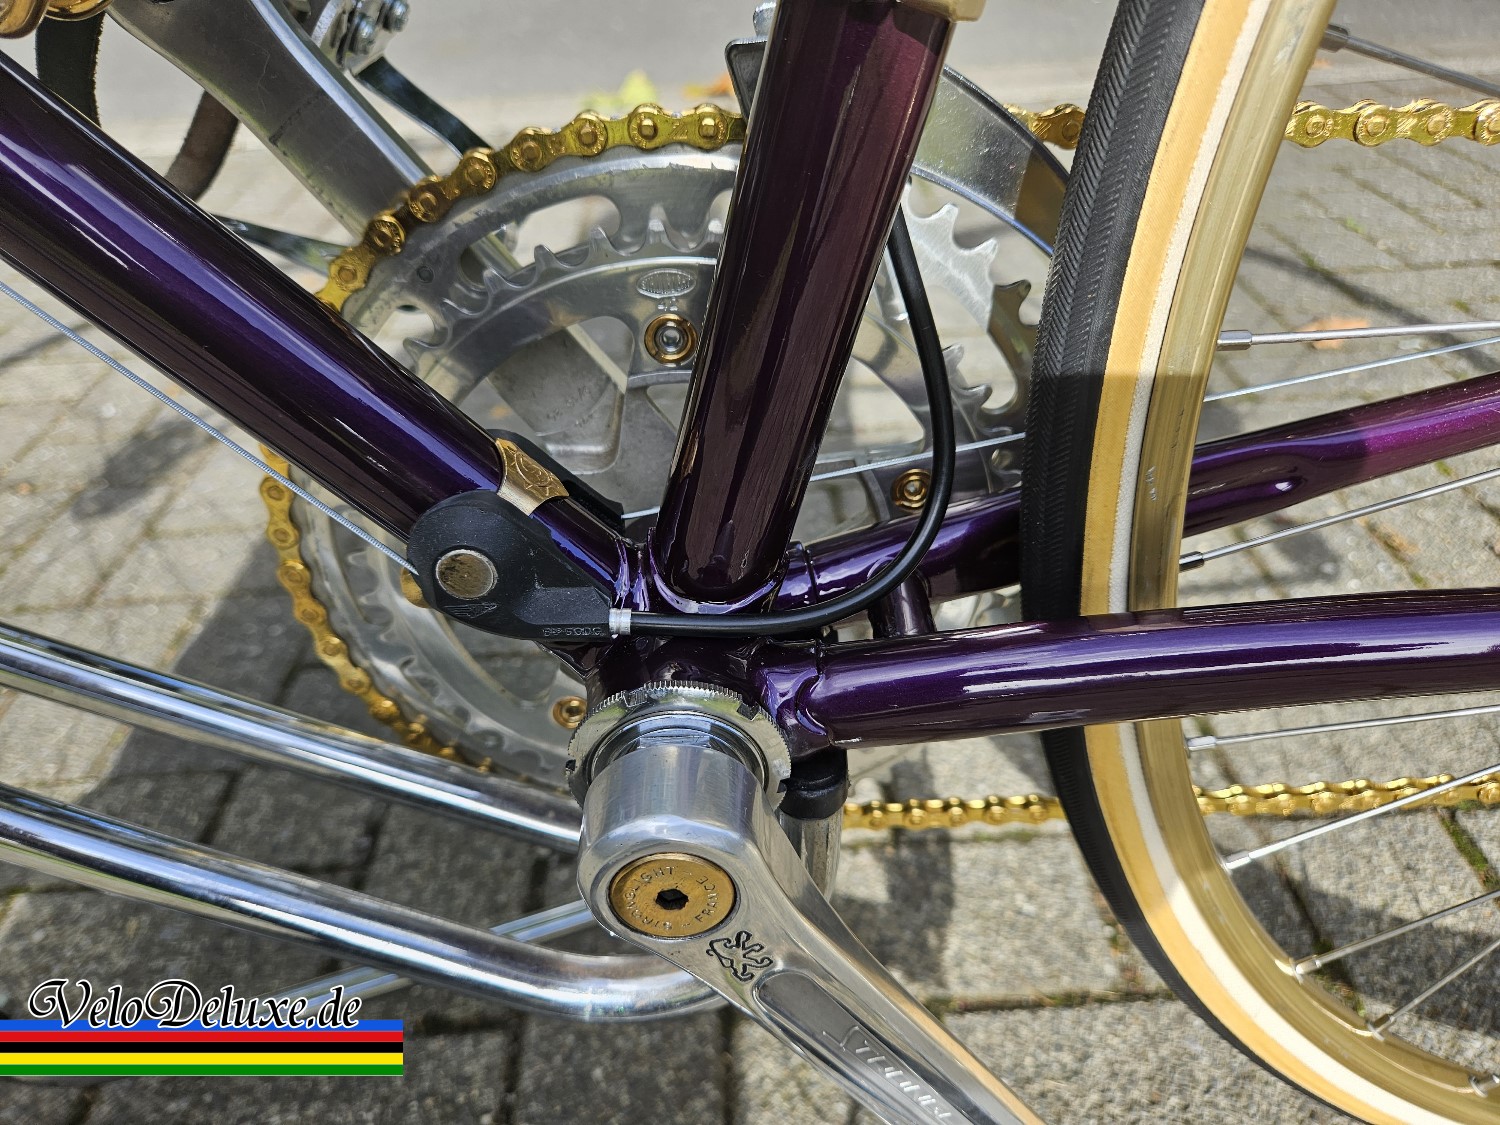
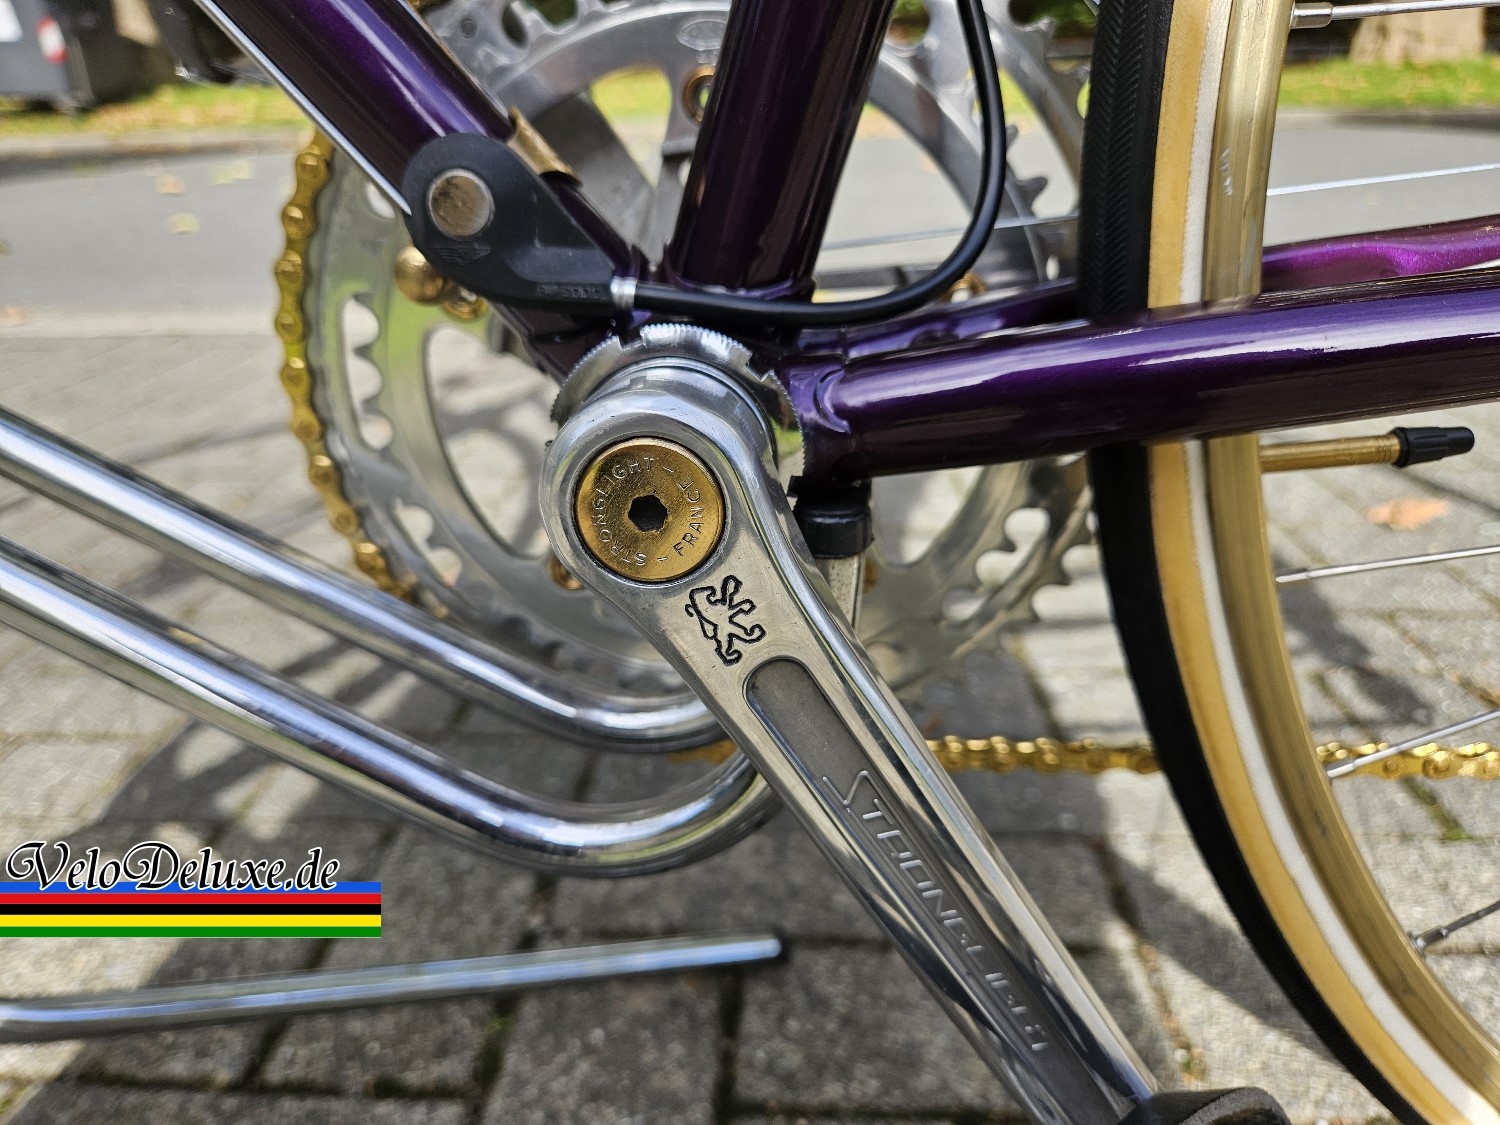
I pantographed two Peugeot lions on the crankset and added the lion to the stem as well.
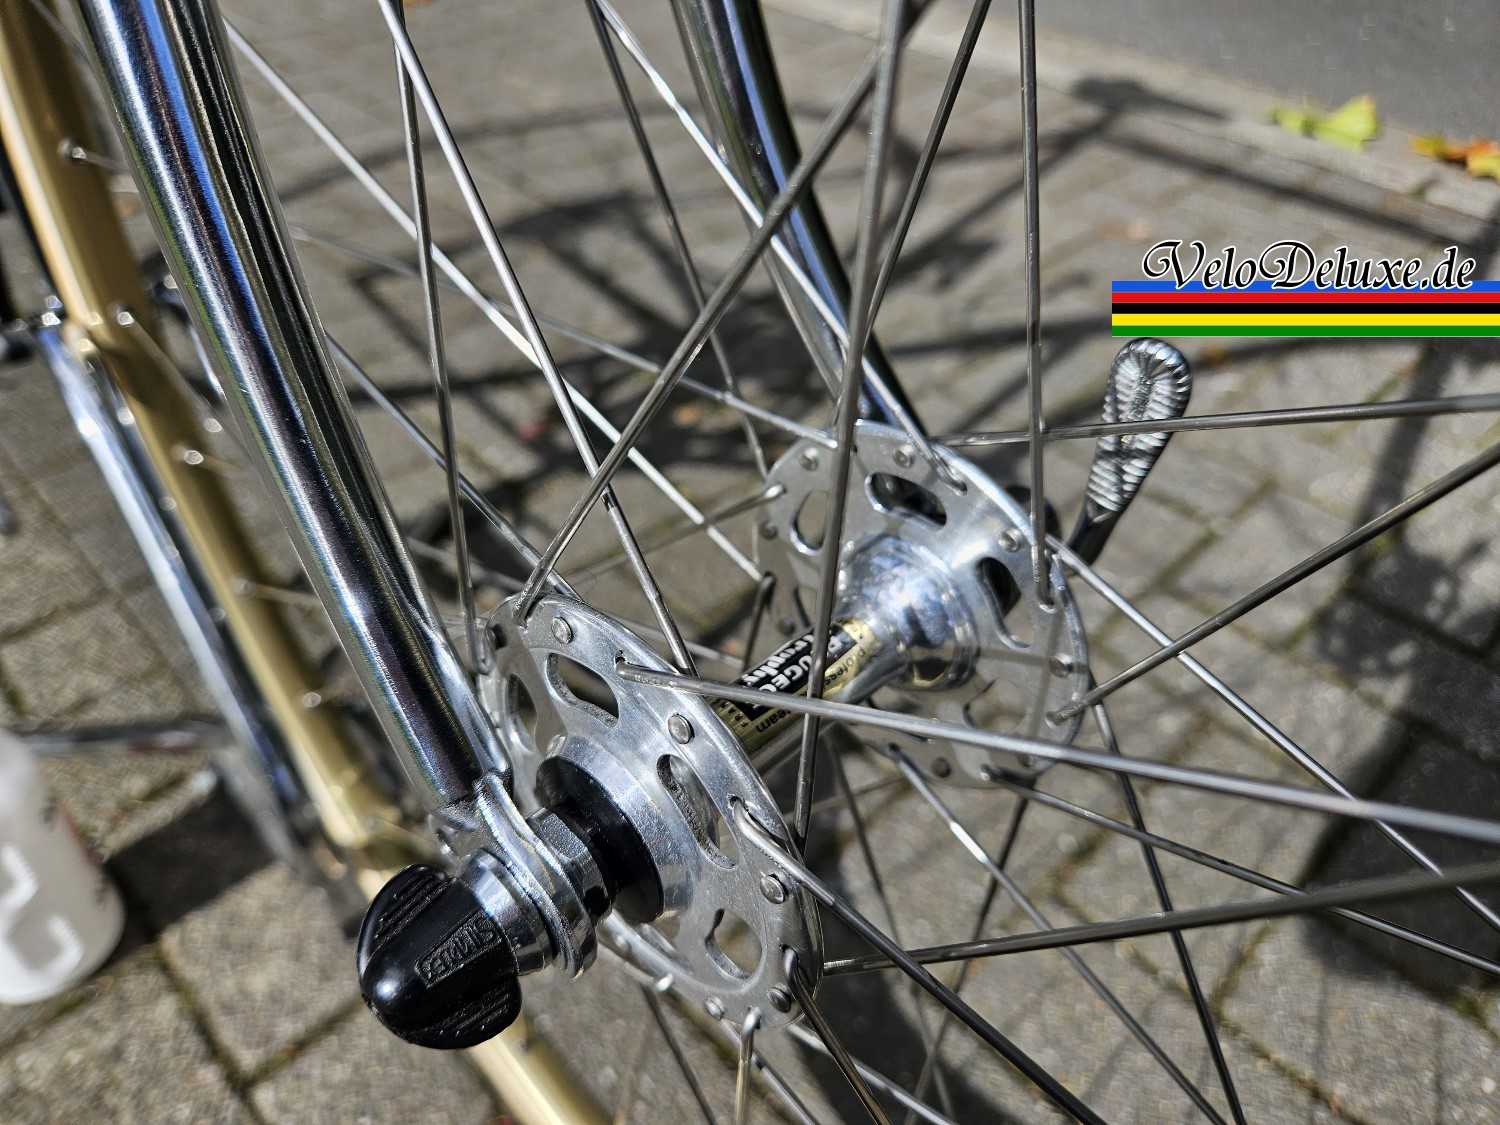
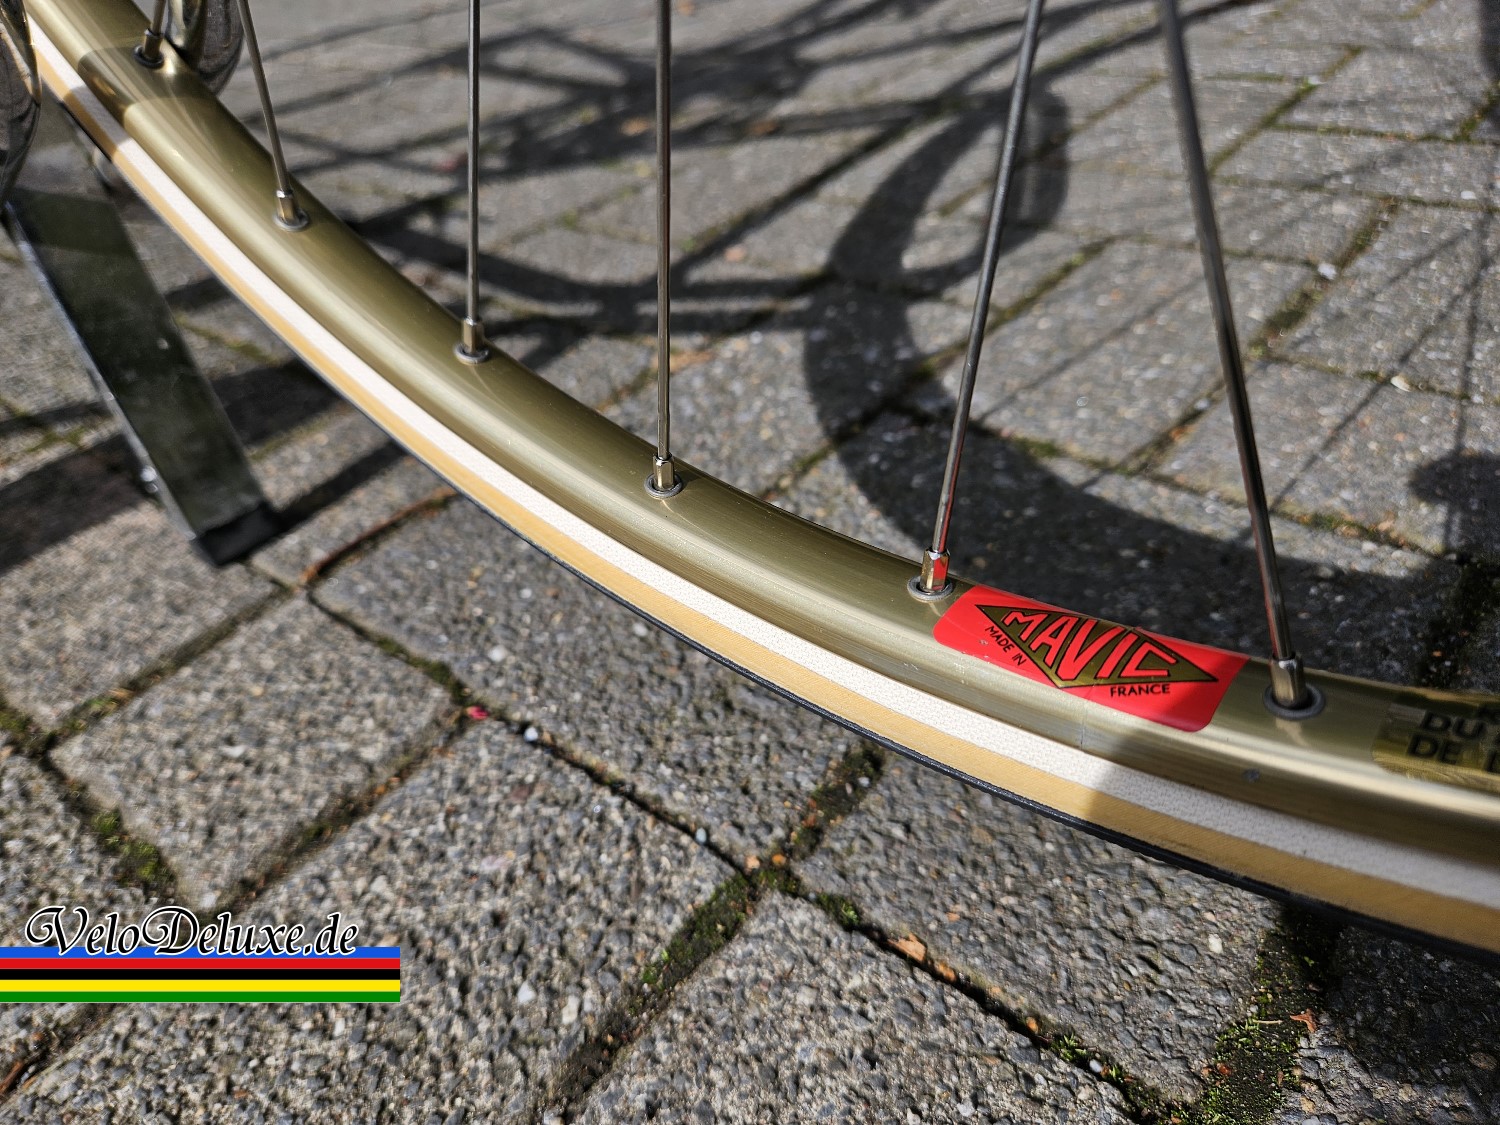
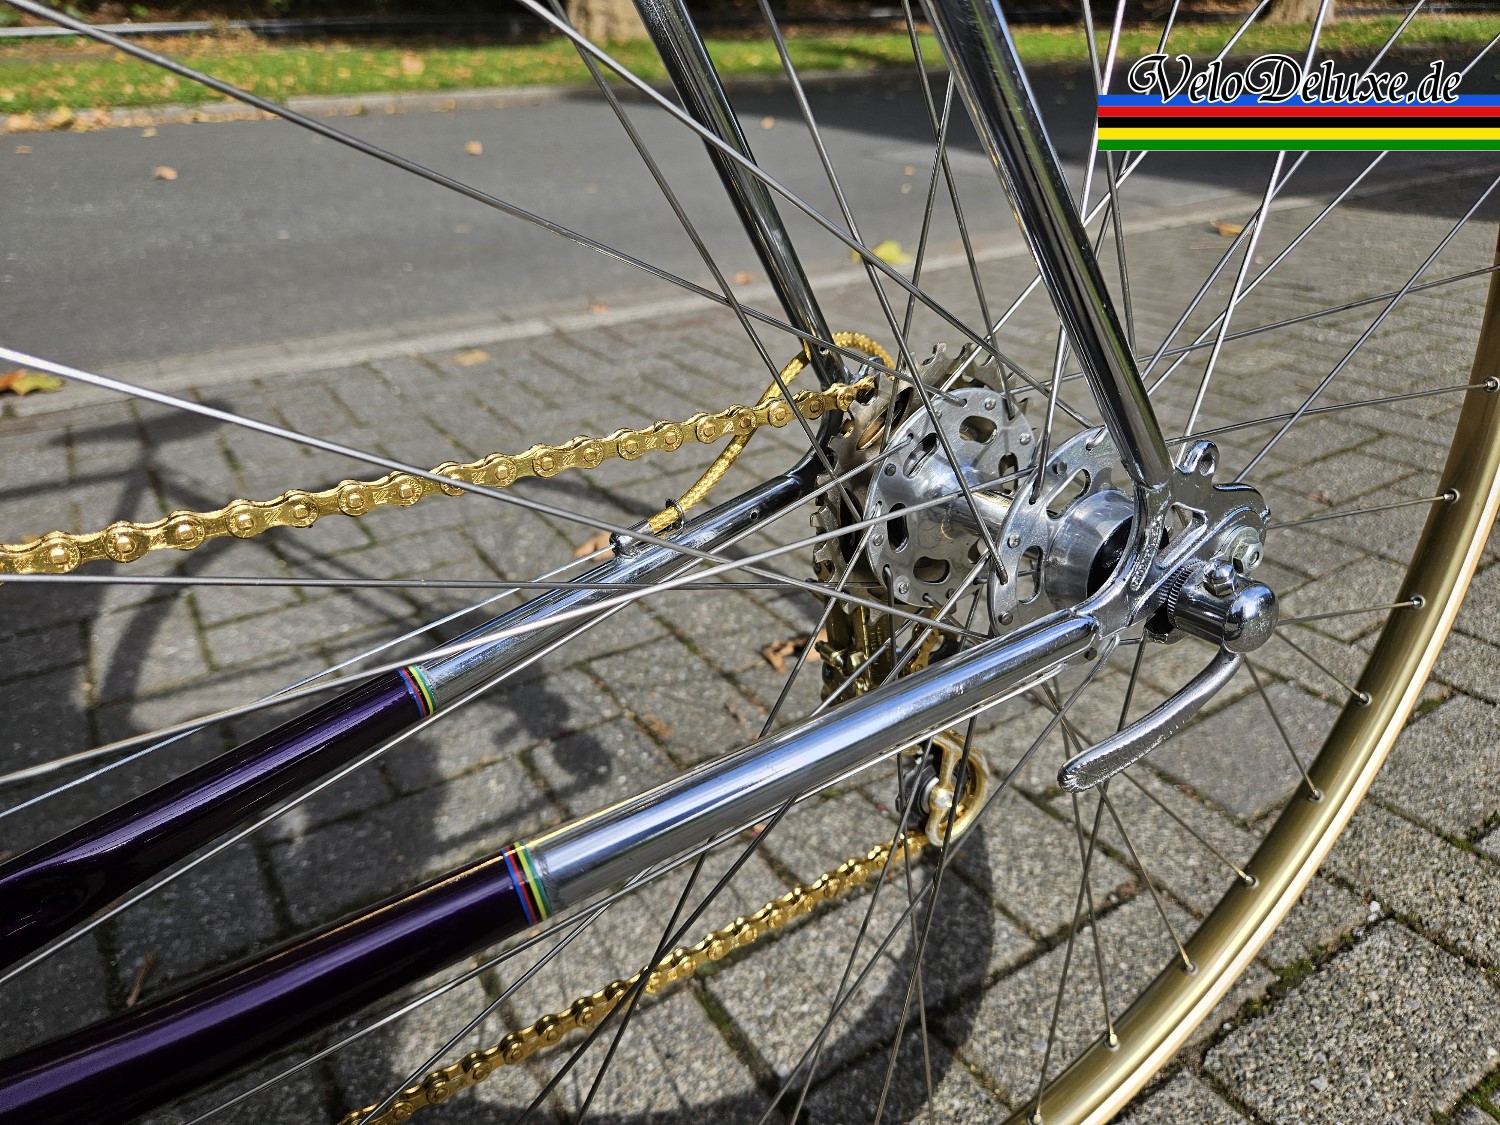
I had set aside a pair of gold Mavic rims to lace to the original high-flange Peugeot Trophy hubs. With no suitable spokes on hand and the fair approaching, I asked Michael Sörgel of S.M.I. in Datteln to build the wheels. I was delighted with how they looked and rolled.
Before assembly, I still had the headset, brake-cable stops, seat clamp bolts, bottle cage and several small parts to gold-plate.
I could finally assemble the bike and see it take shape. I chose Continental Giro tubulars and left them unglued so the eventual owner could easily change them.
The shifters caused one last setback. I had bought gold Simplex SLJ levers three years earlier. When it was time to fit them, I discovered they were faulty and could not be repaired quickly. I plated the original silver Simplex shifters instead.
And then it was finally finished! 🙂
The bike received plenty of compliments at the show, and several visitors took photos of it.
That was on 6 September. The next day I was able to photograph the bike in the sun. Here are the photos and a short video so you can see it in motion.
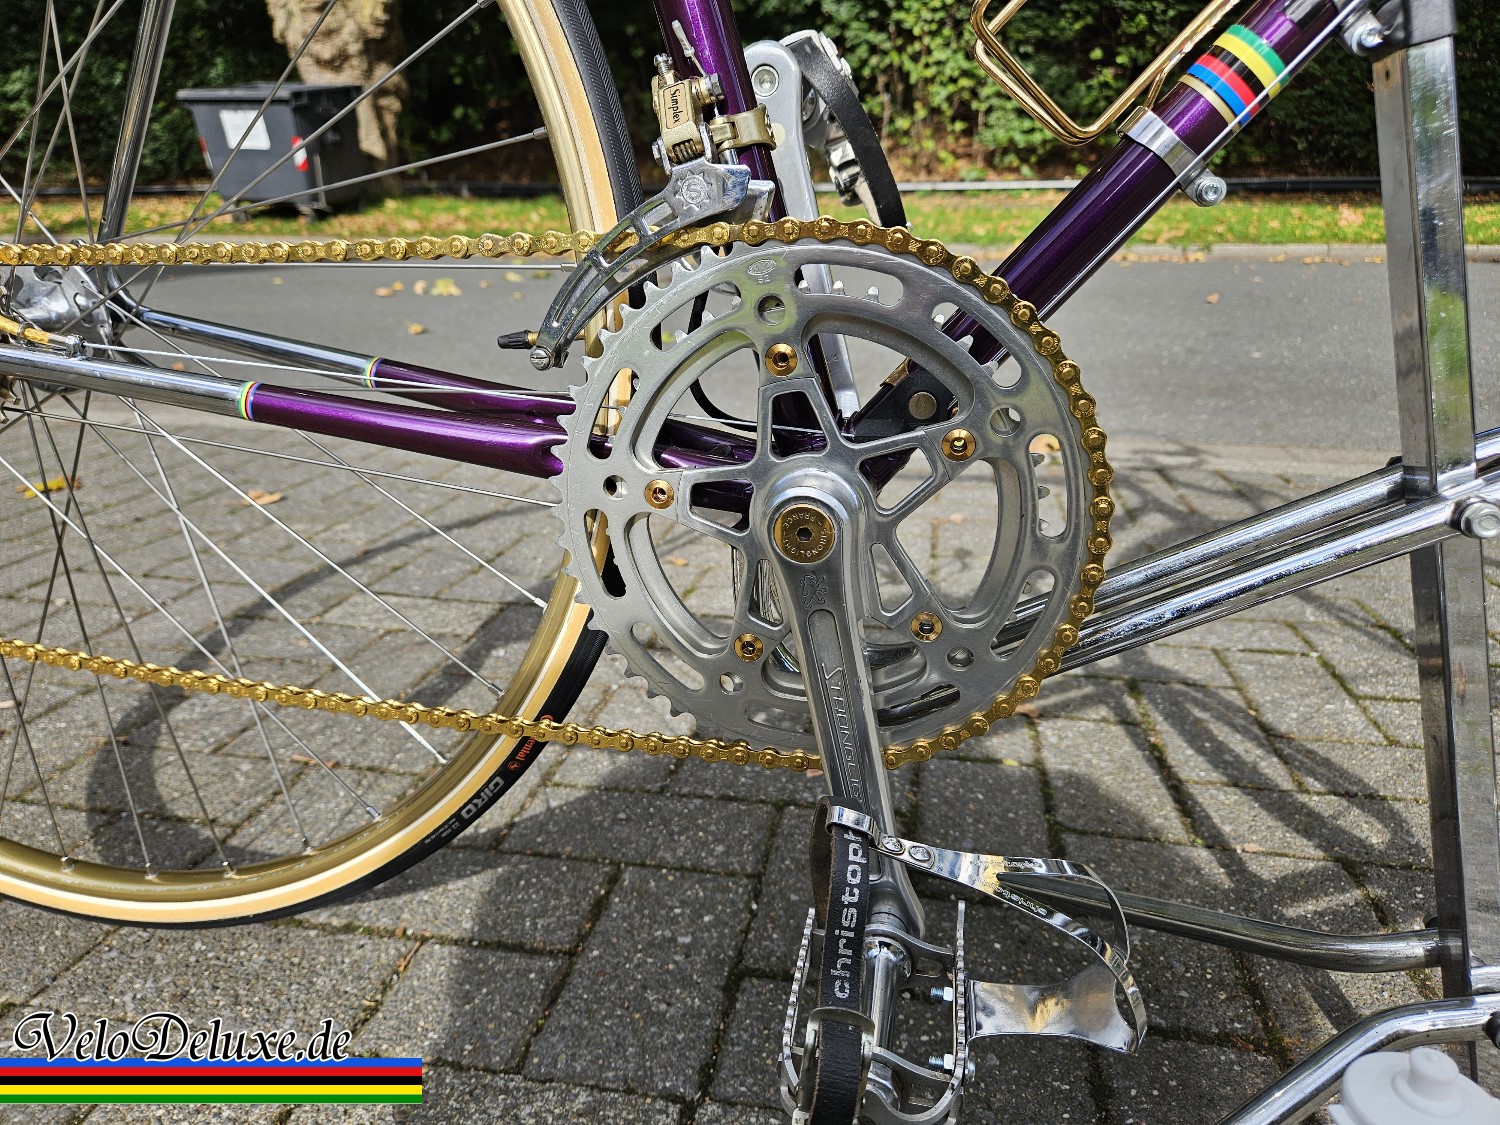
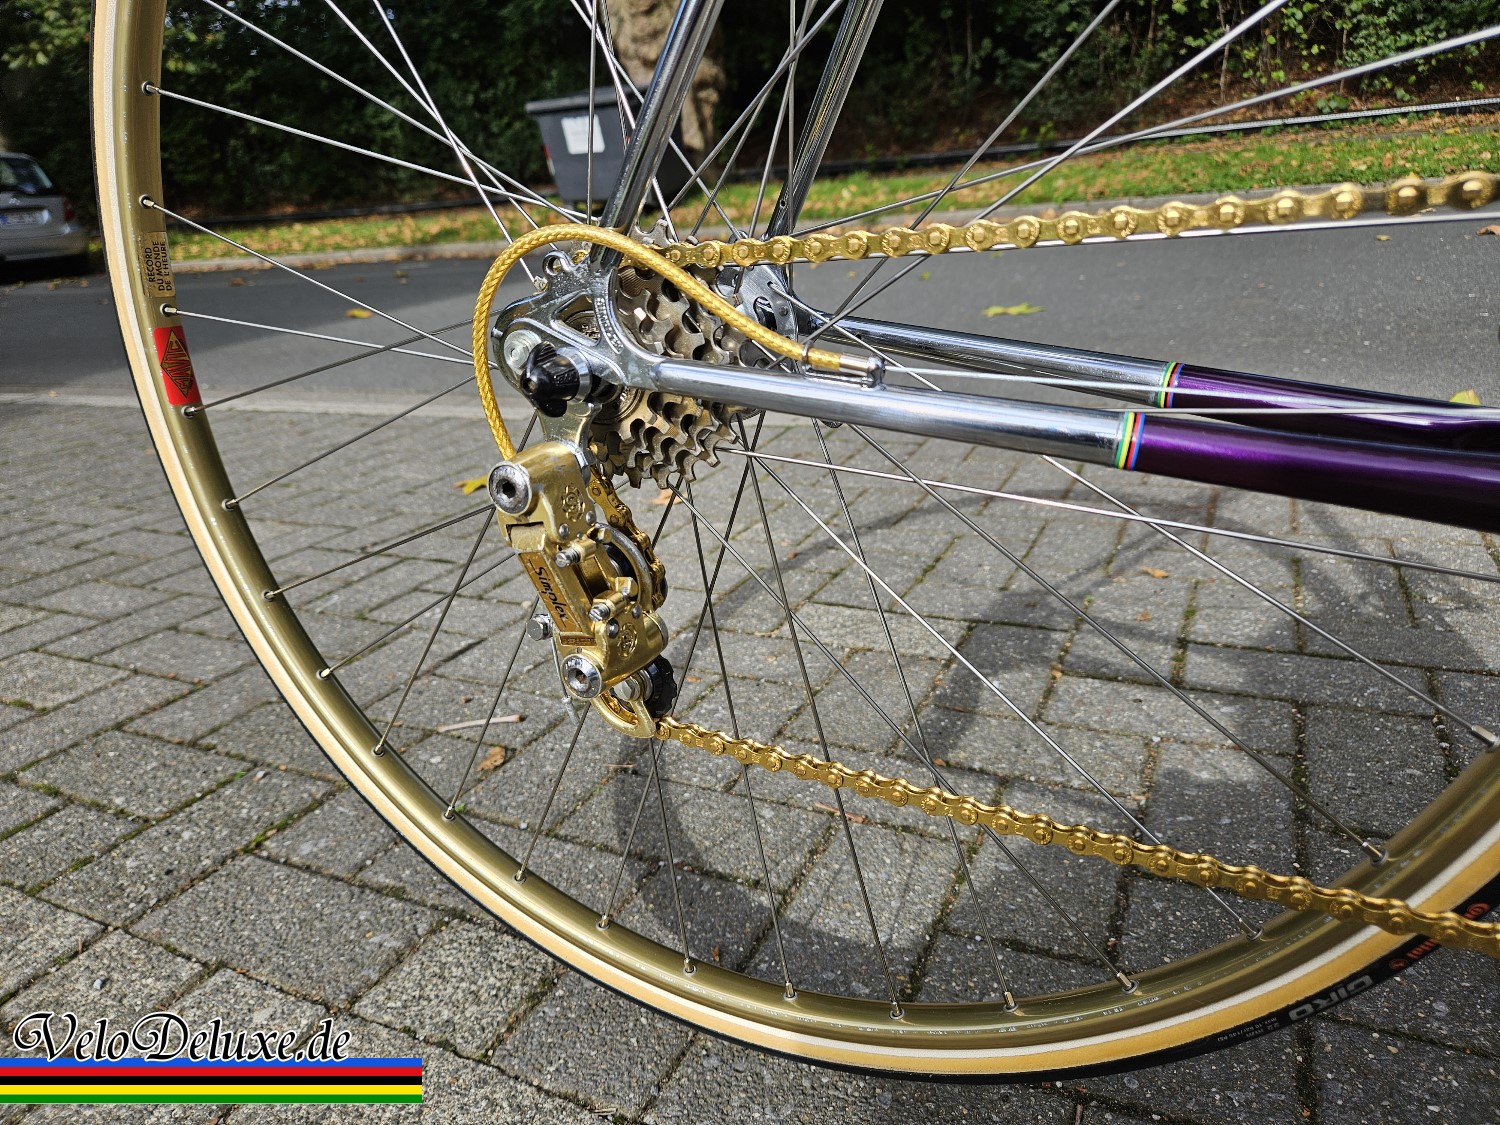
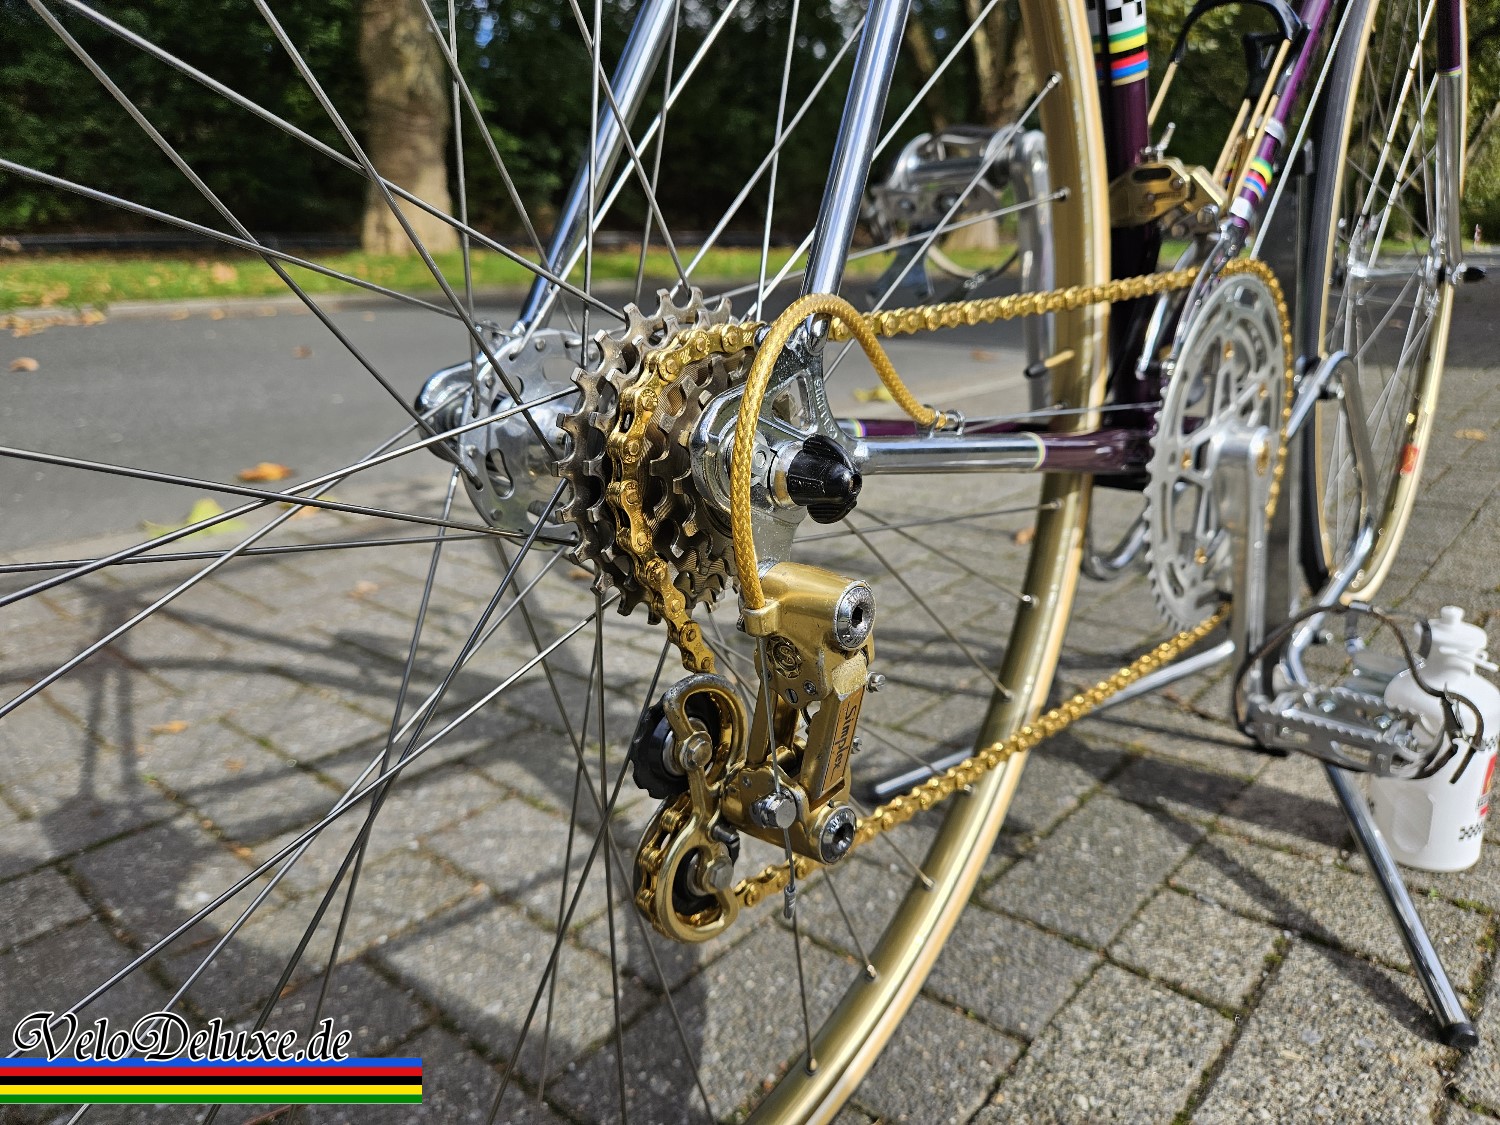
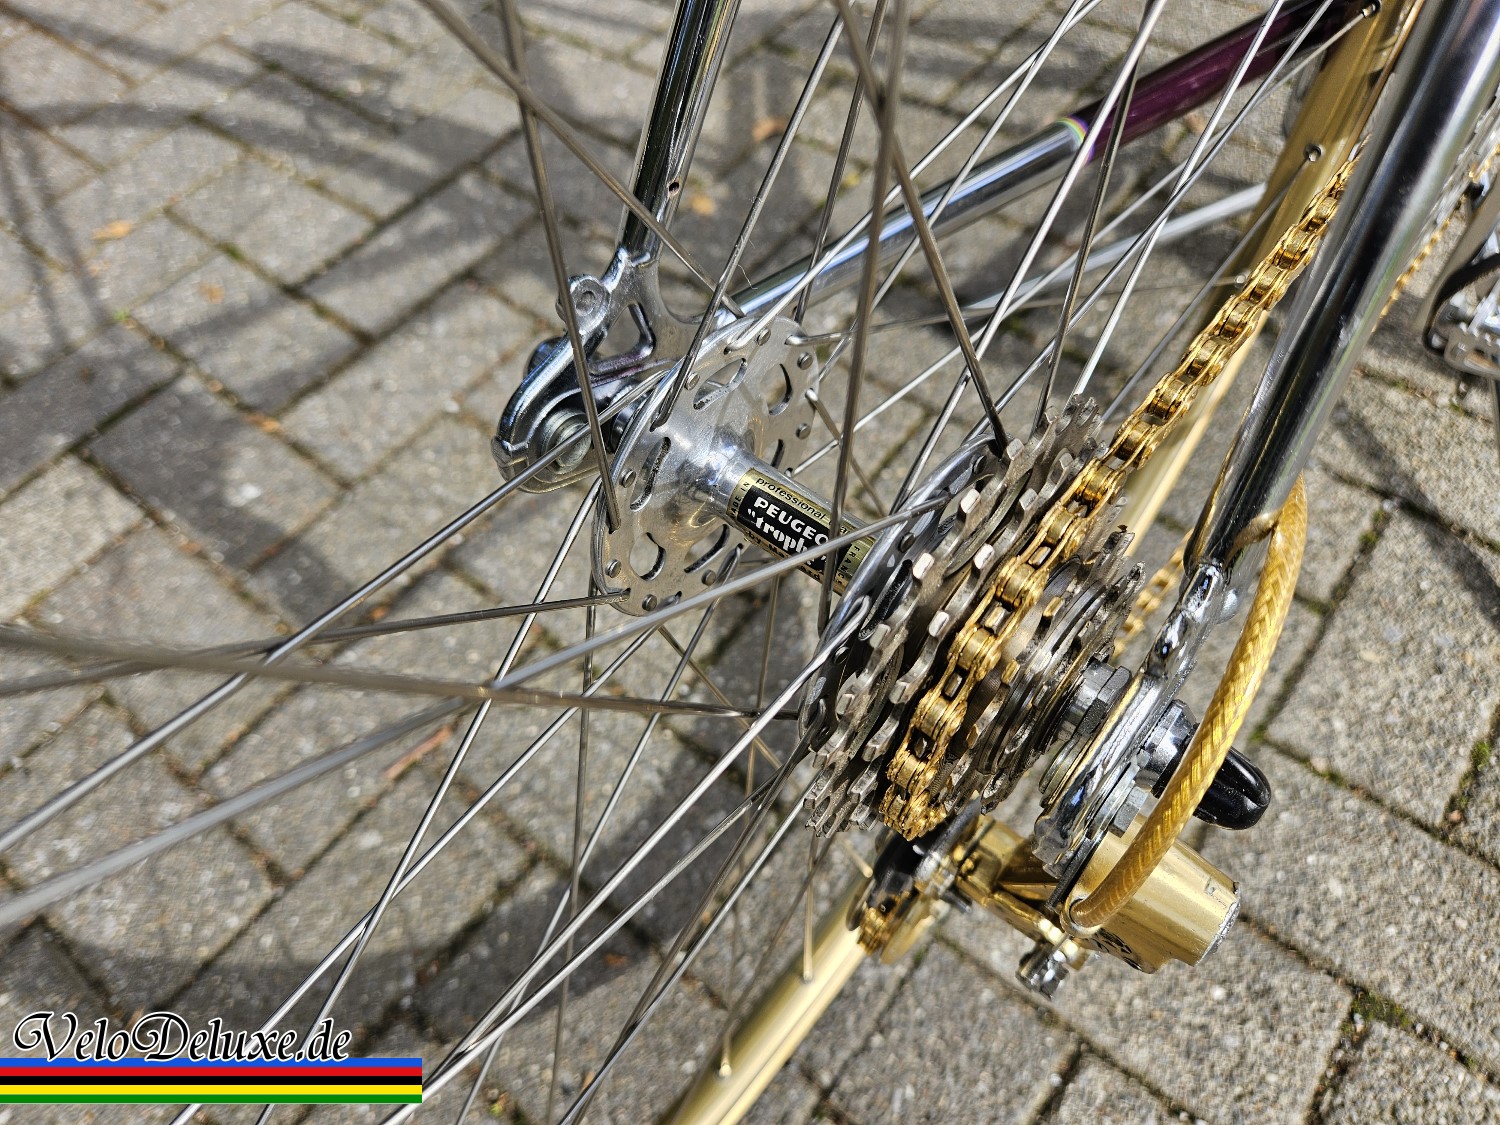
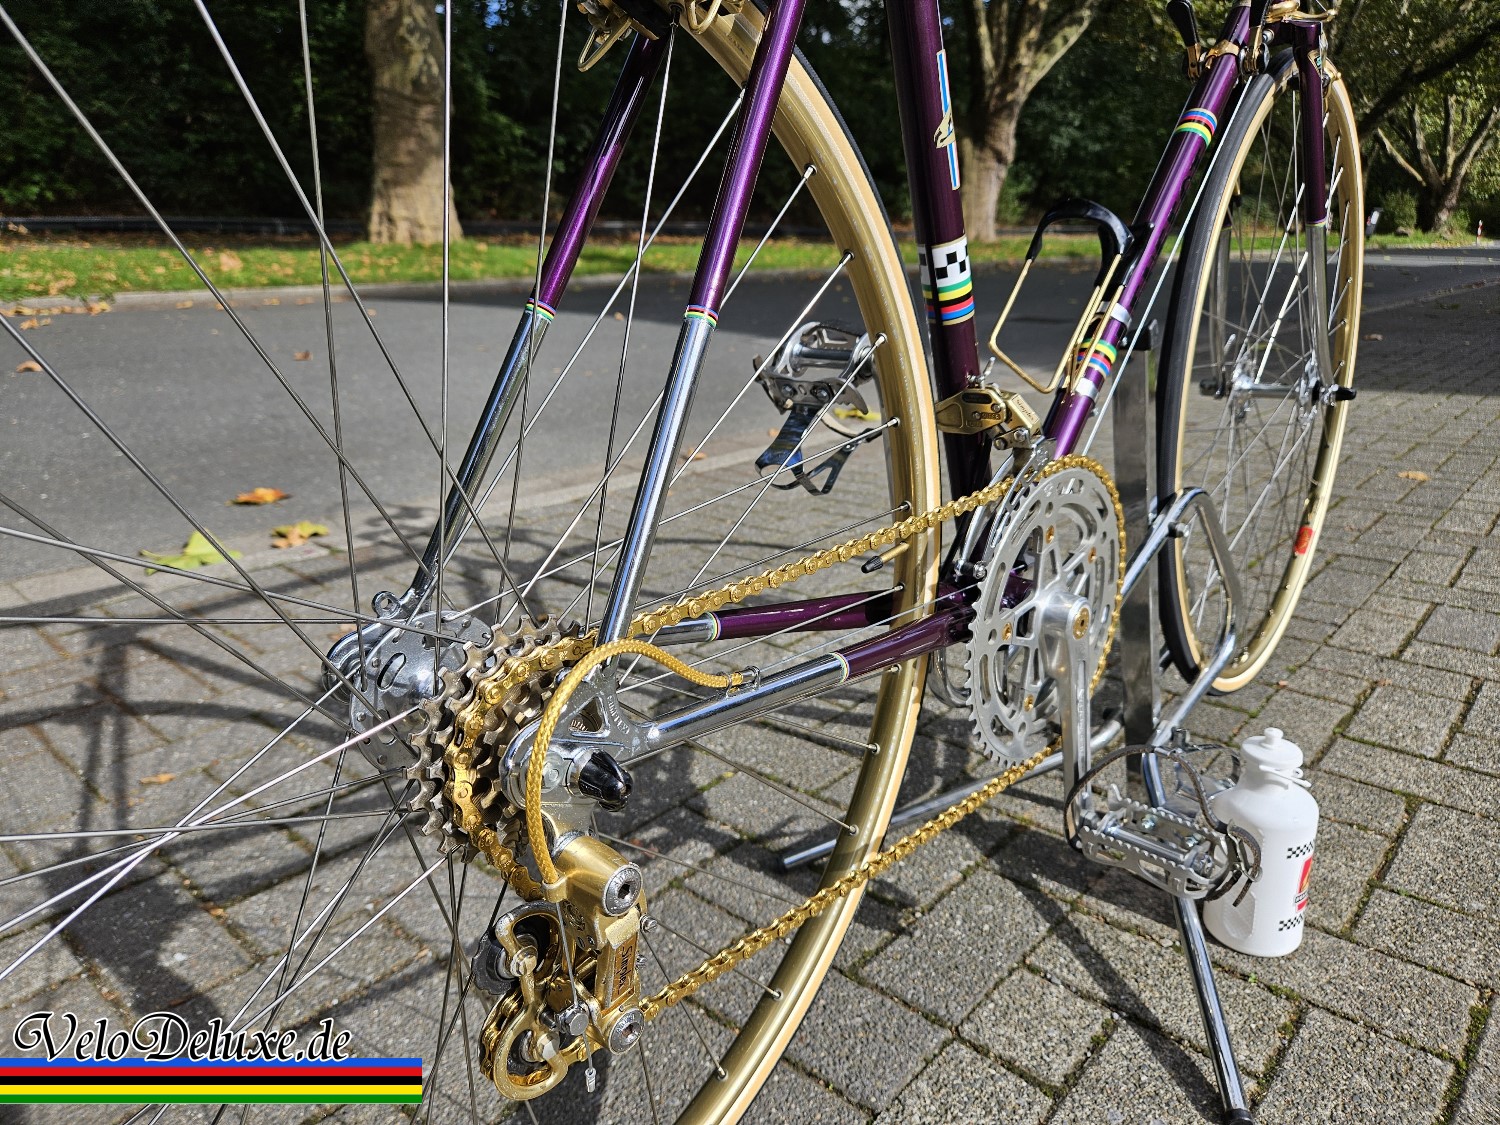
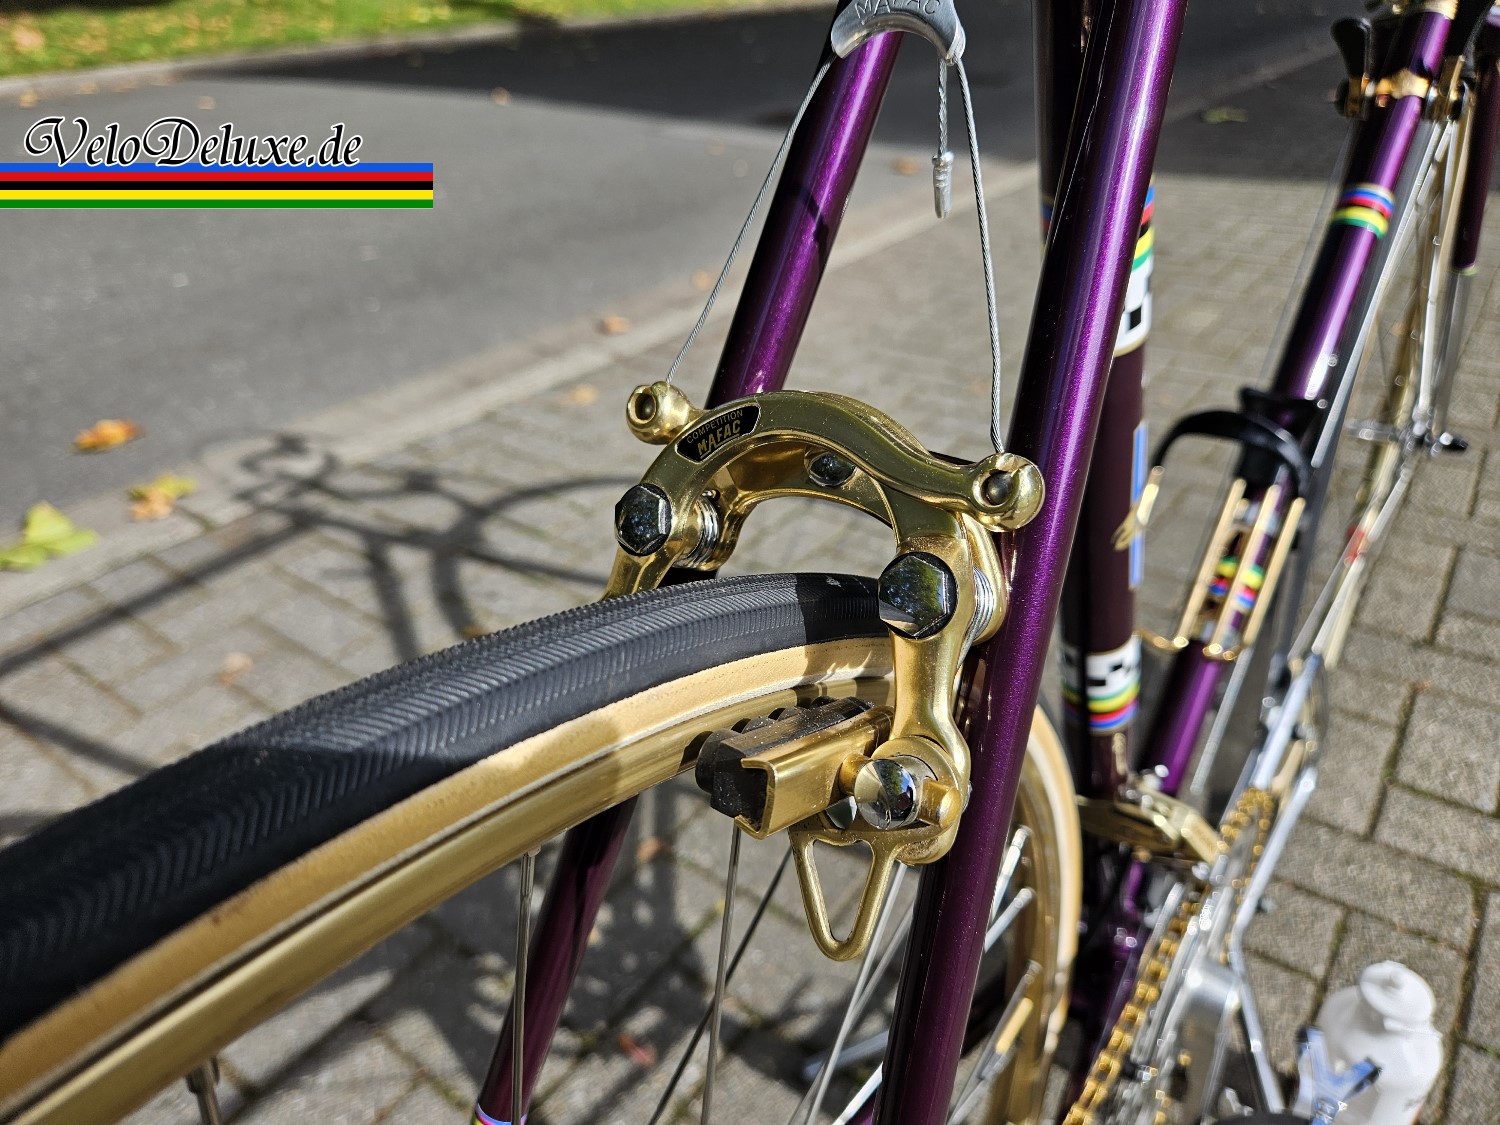
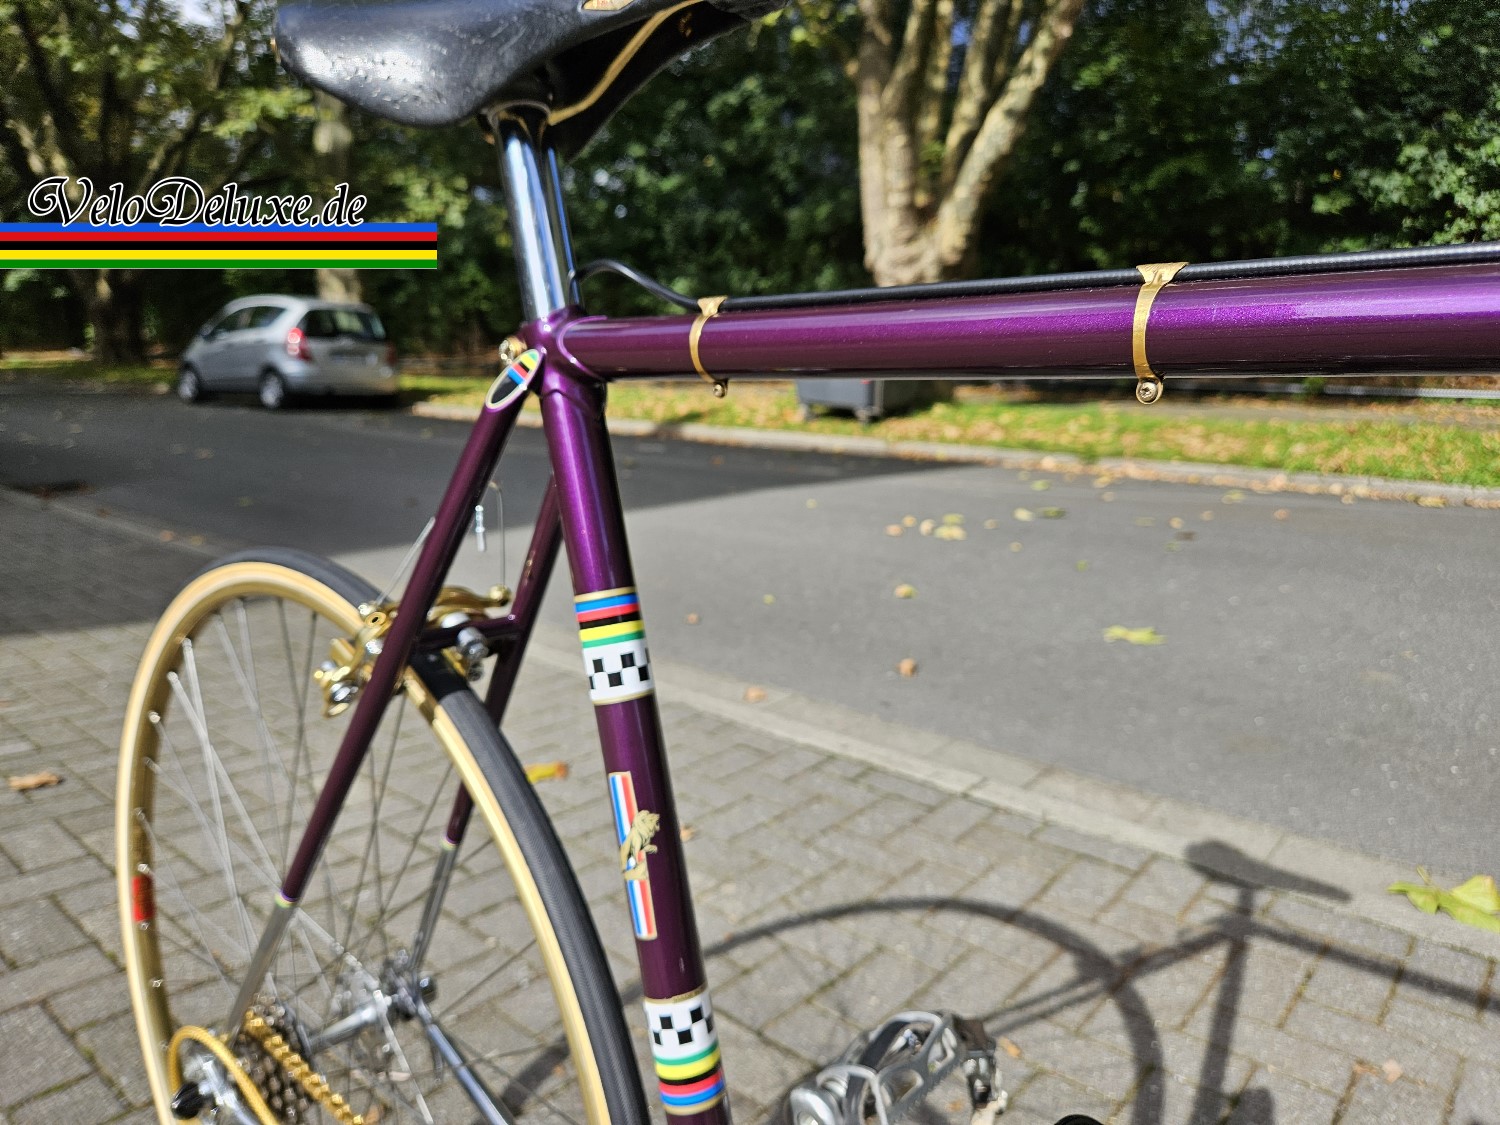
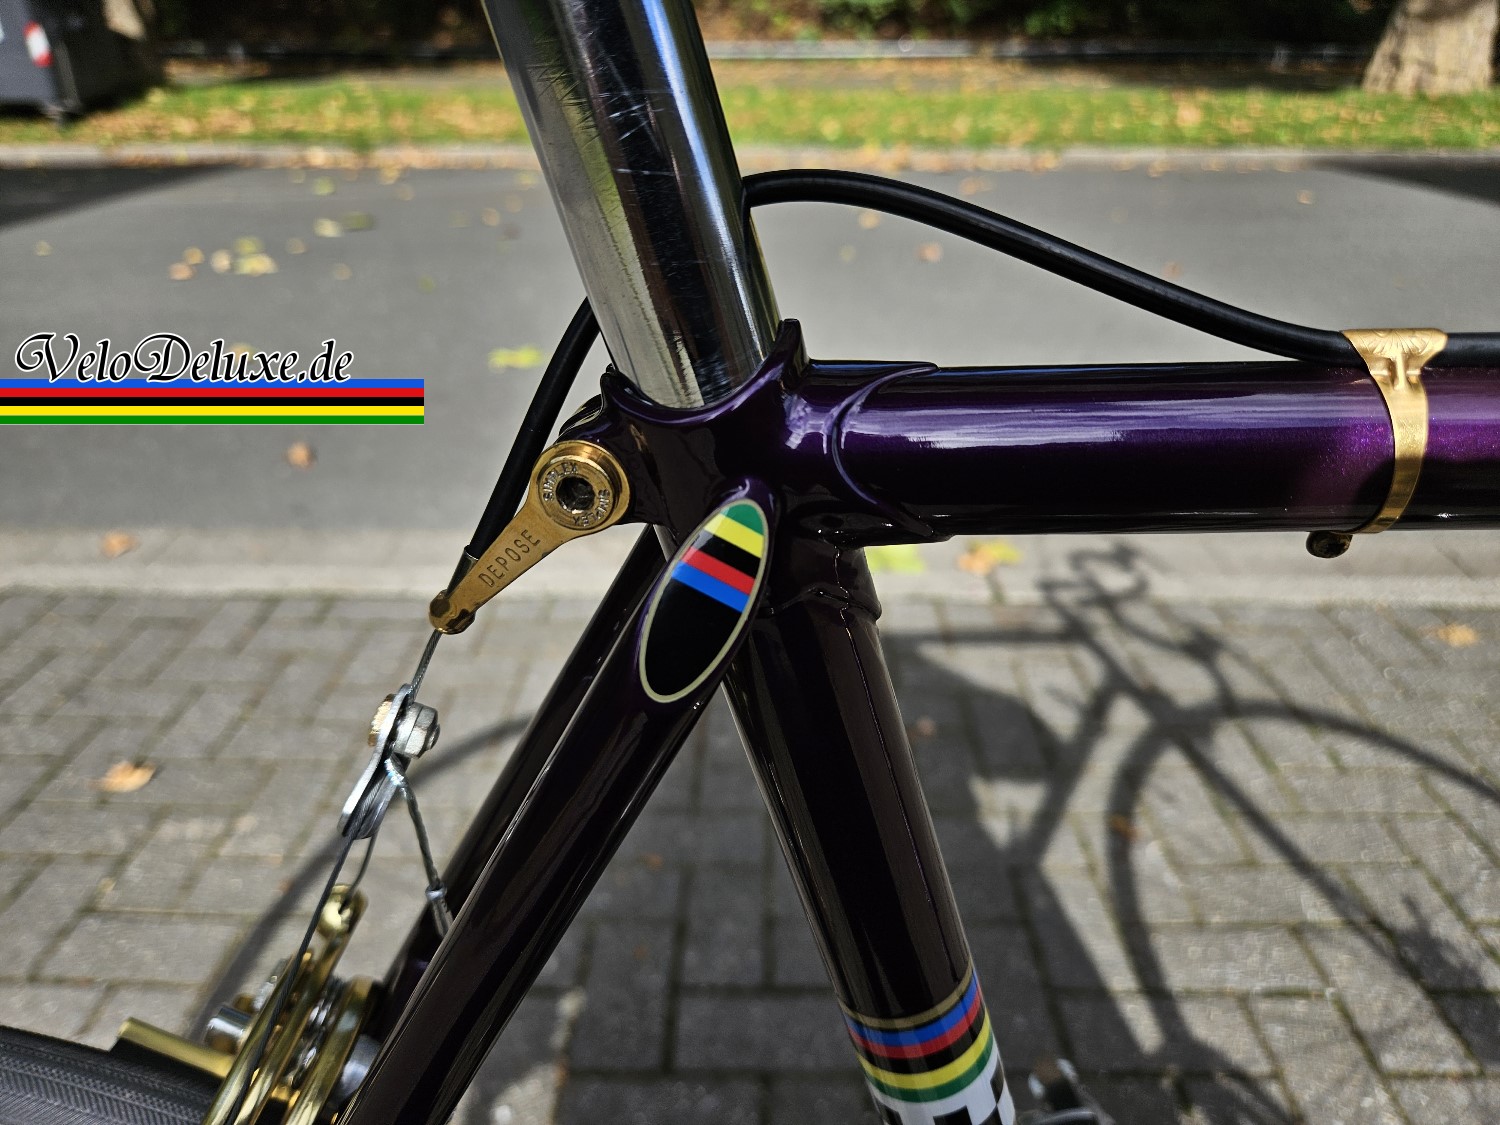
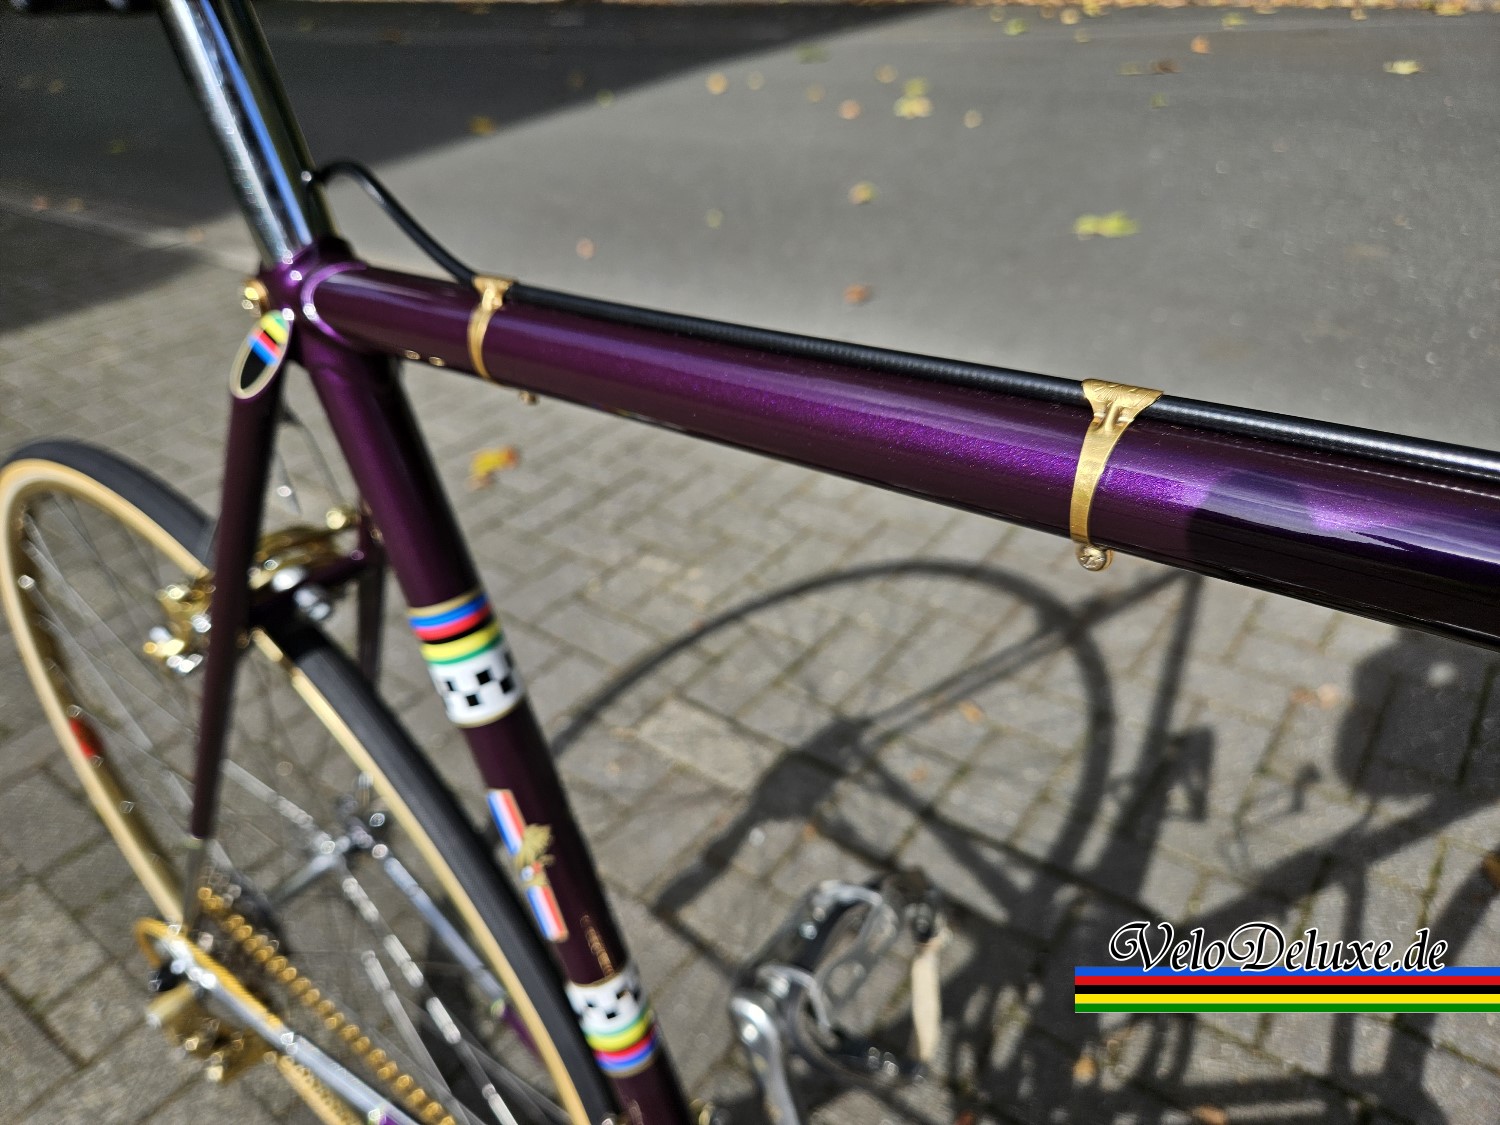
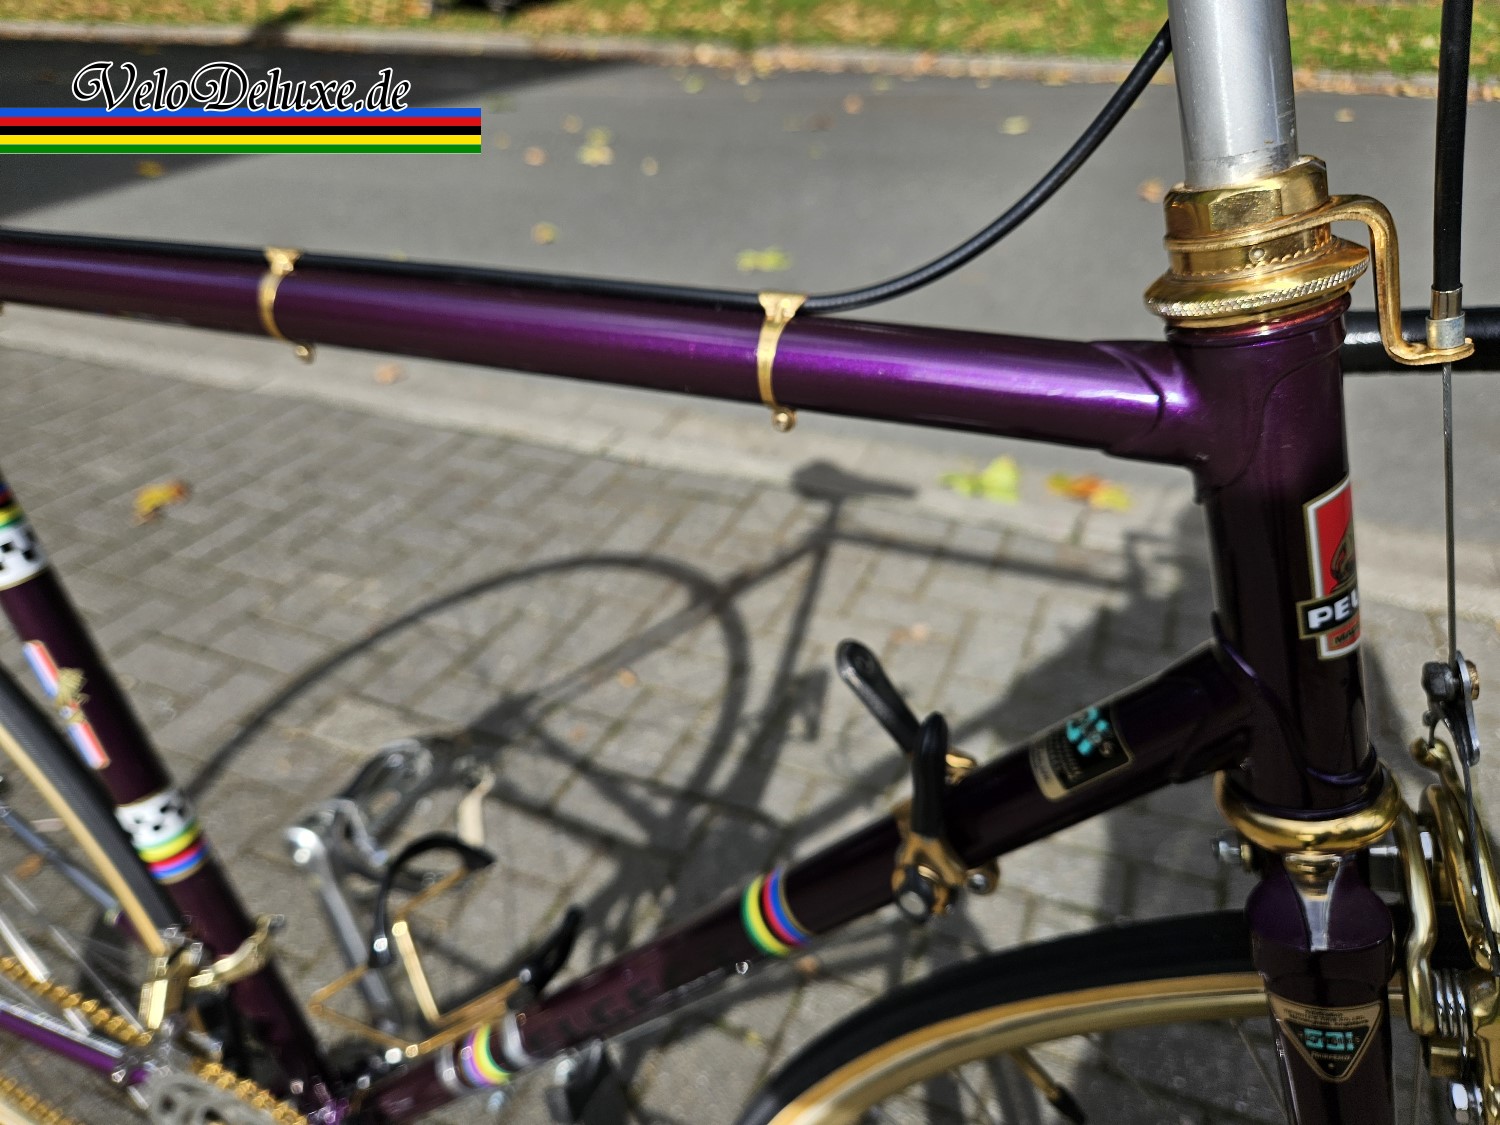
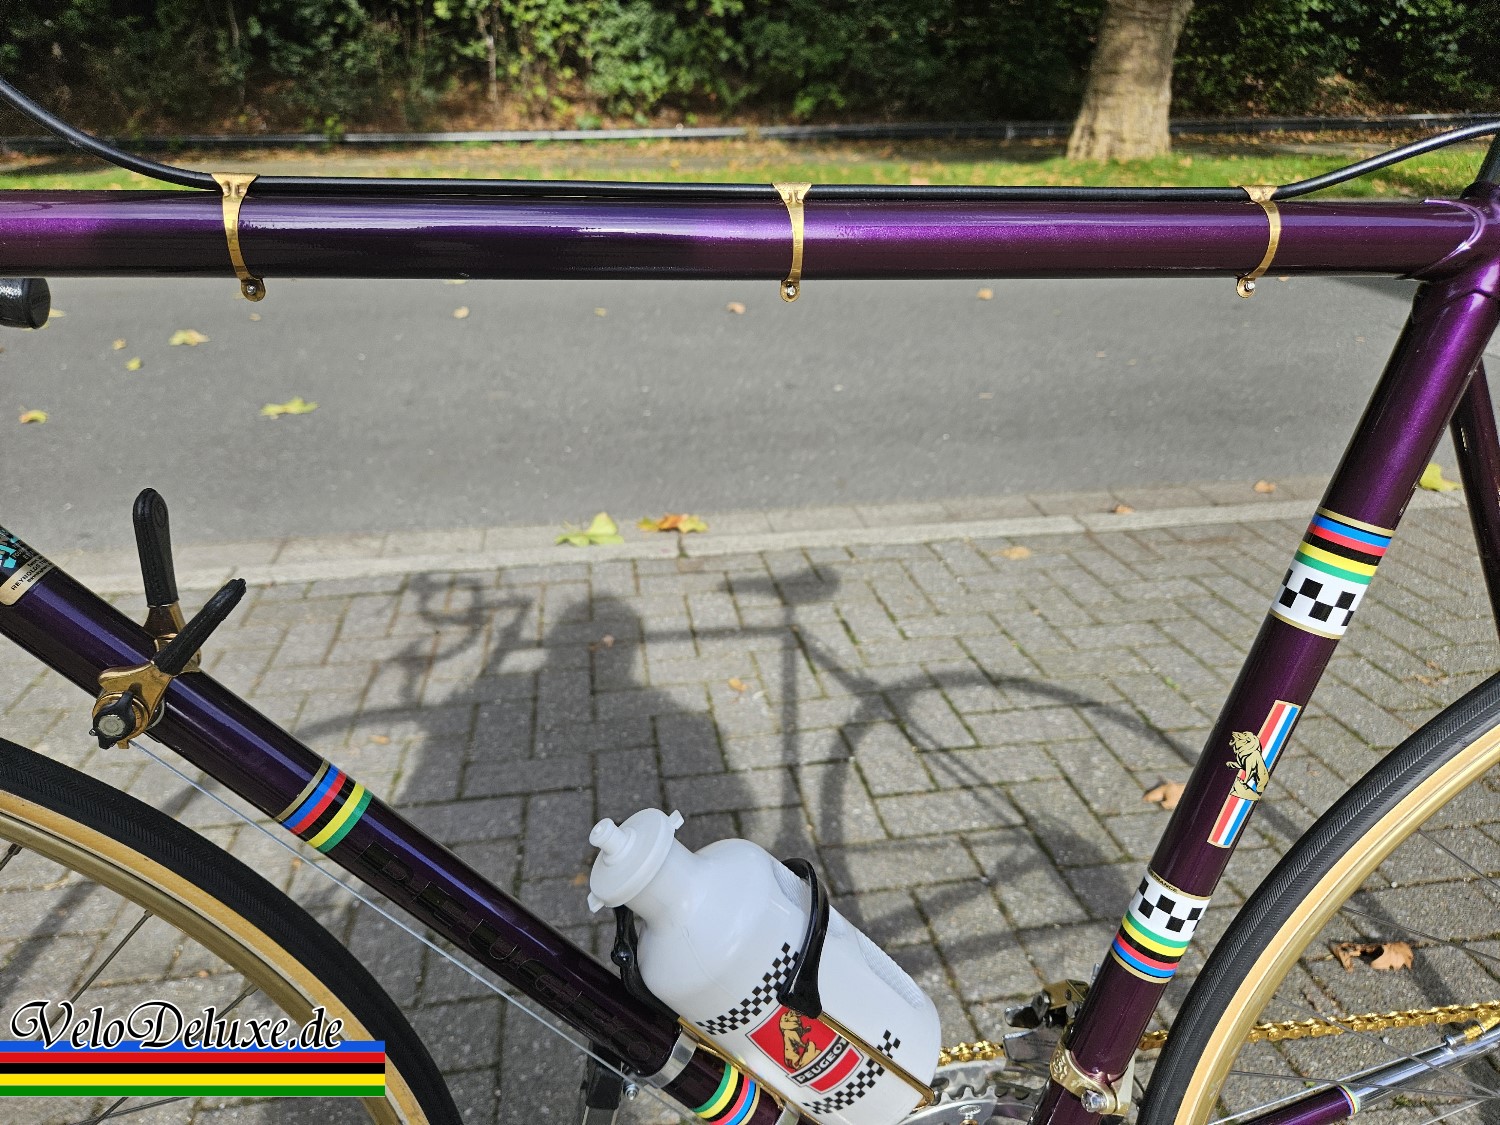
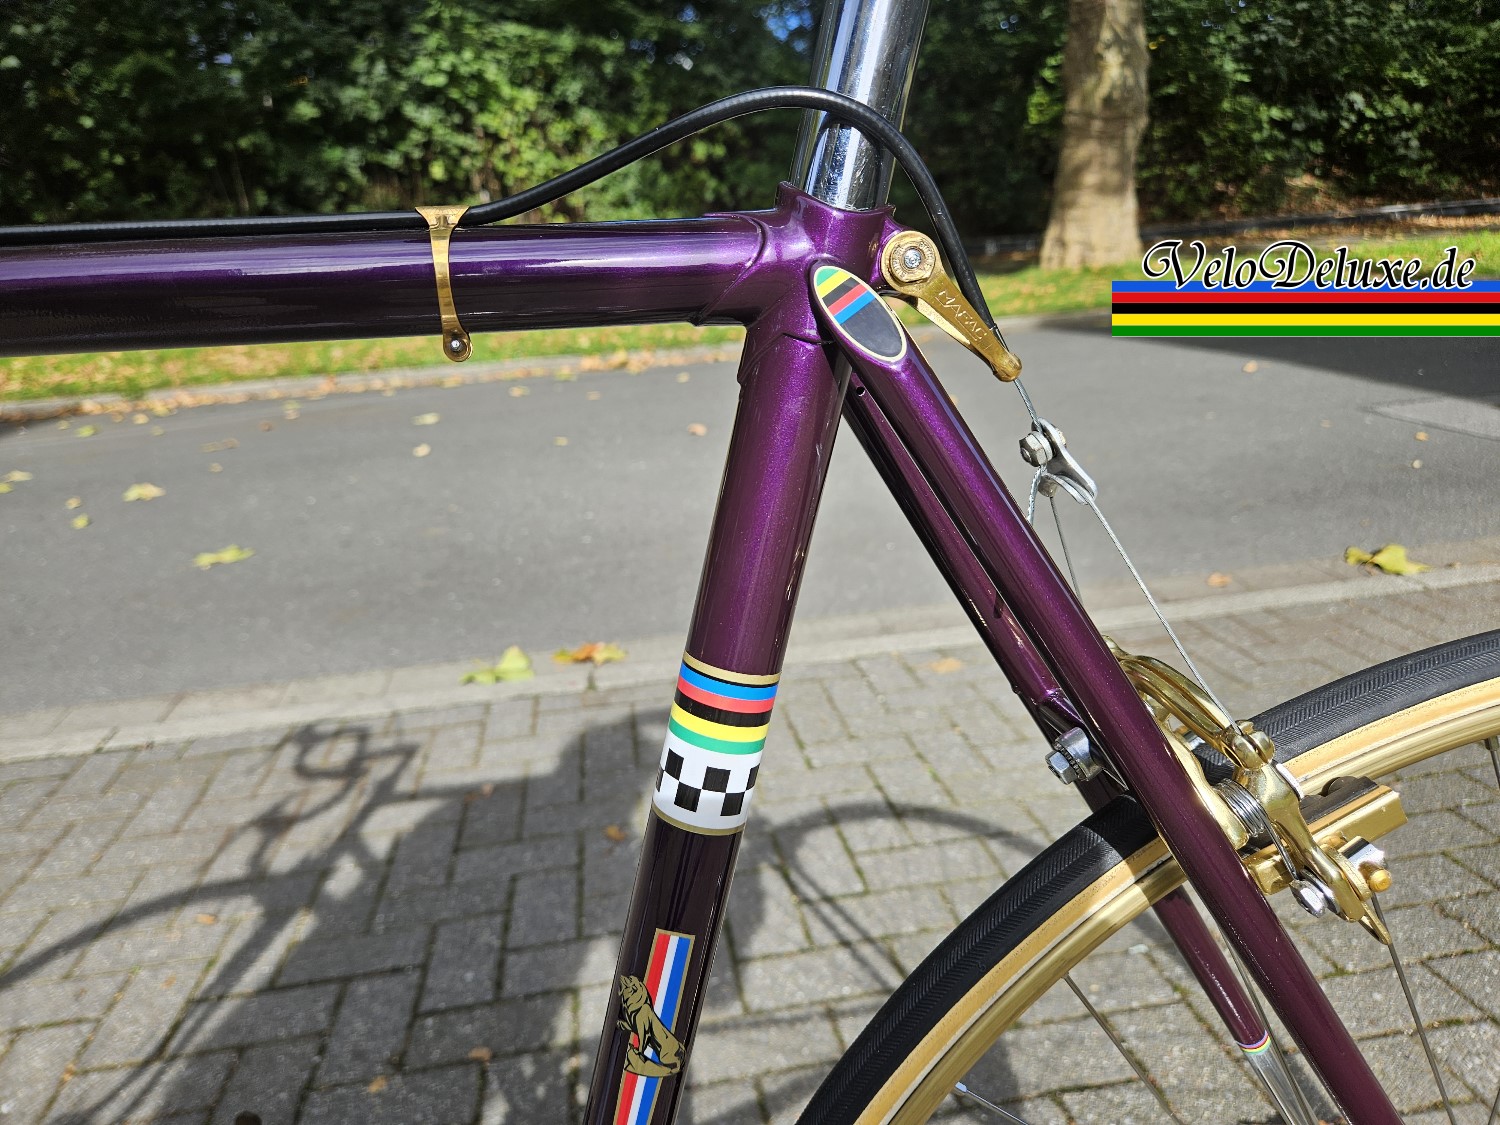
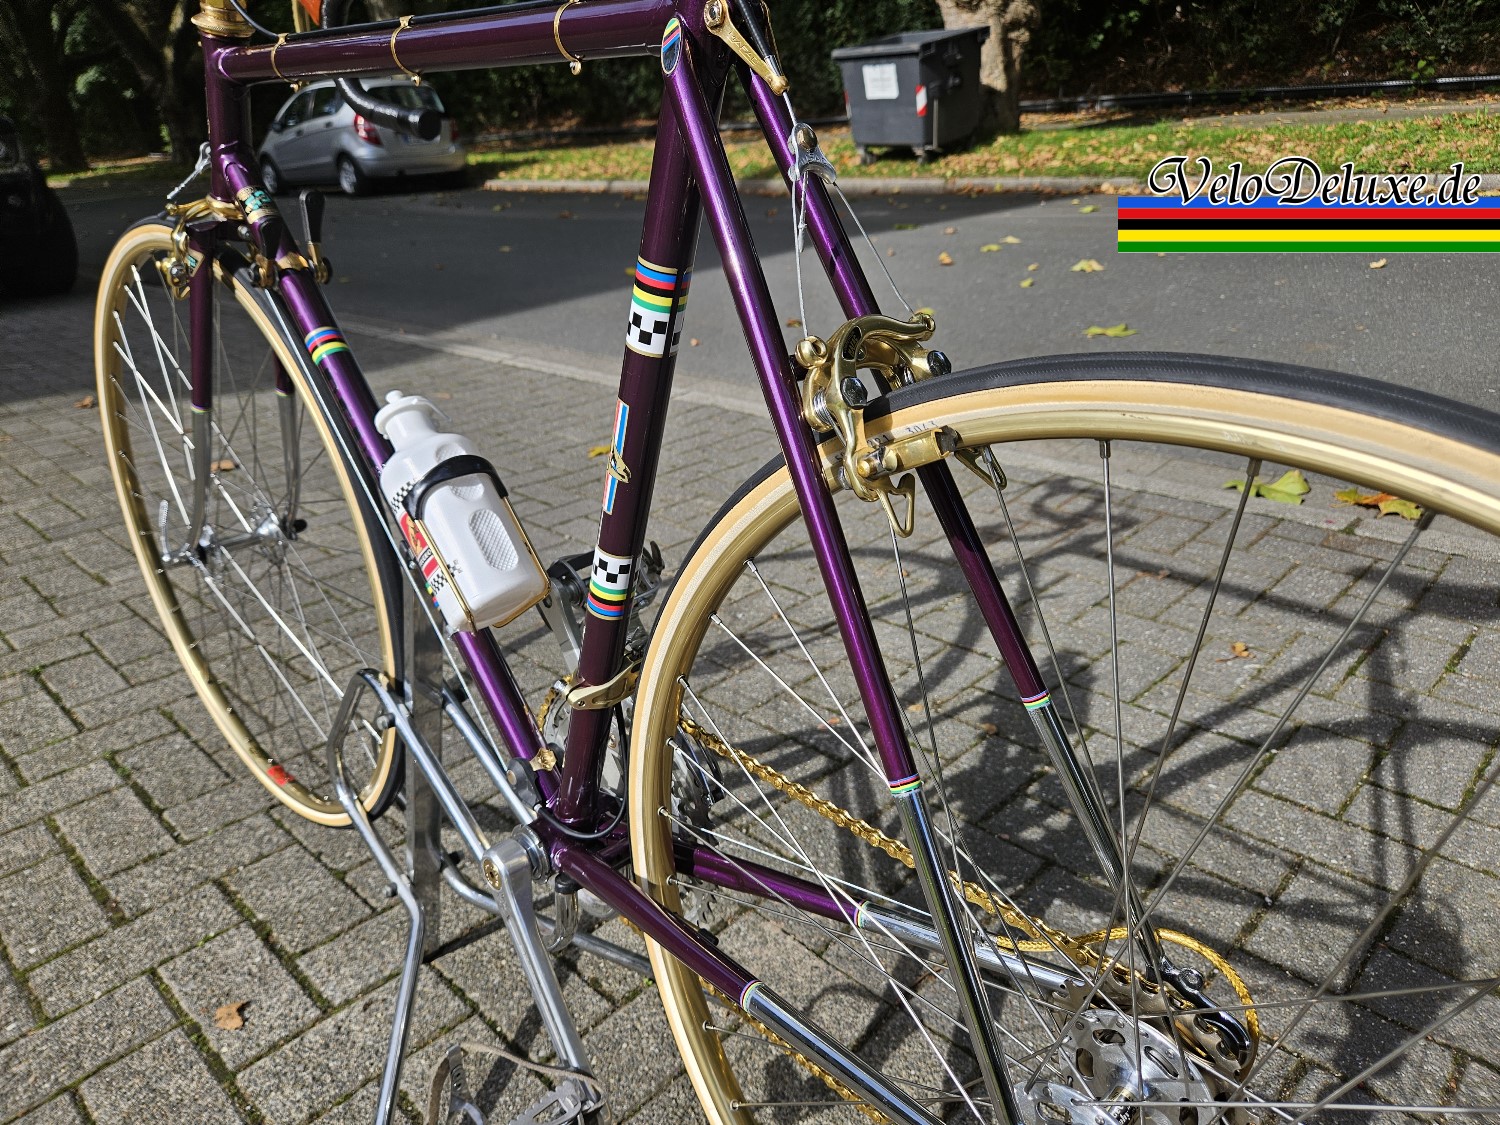
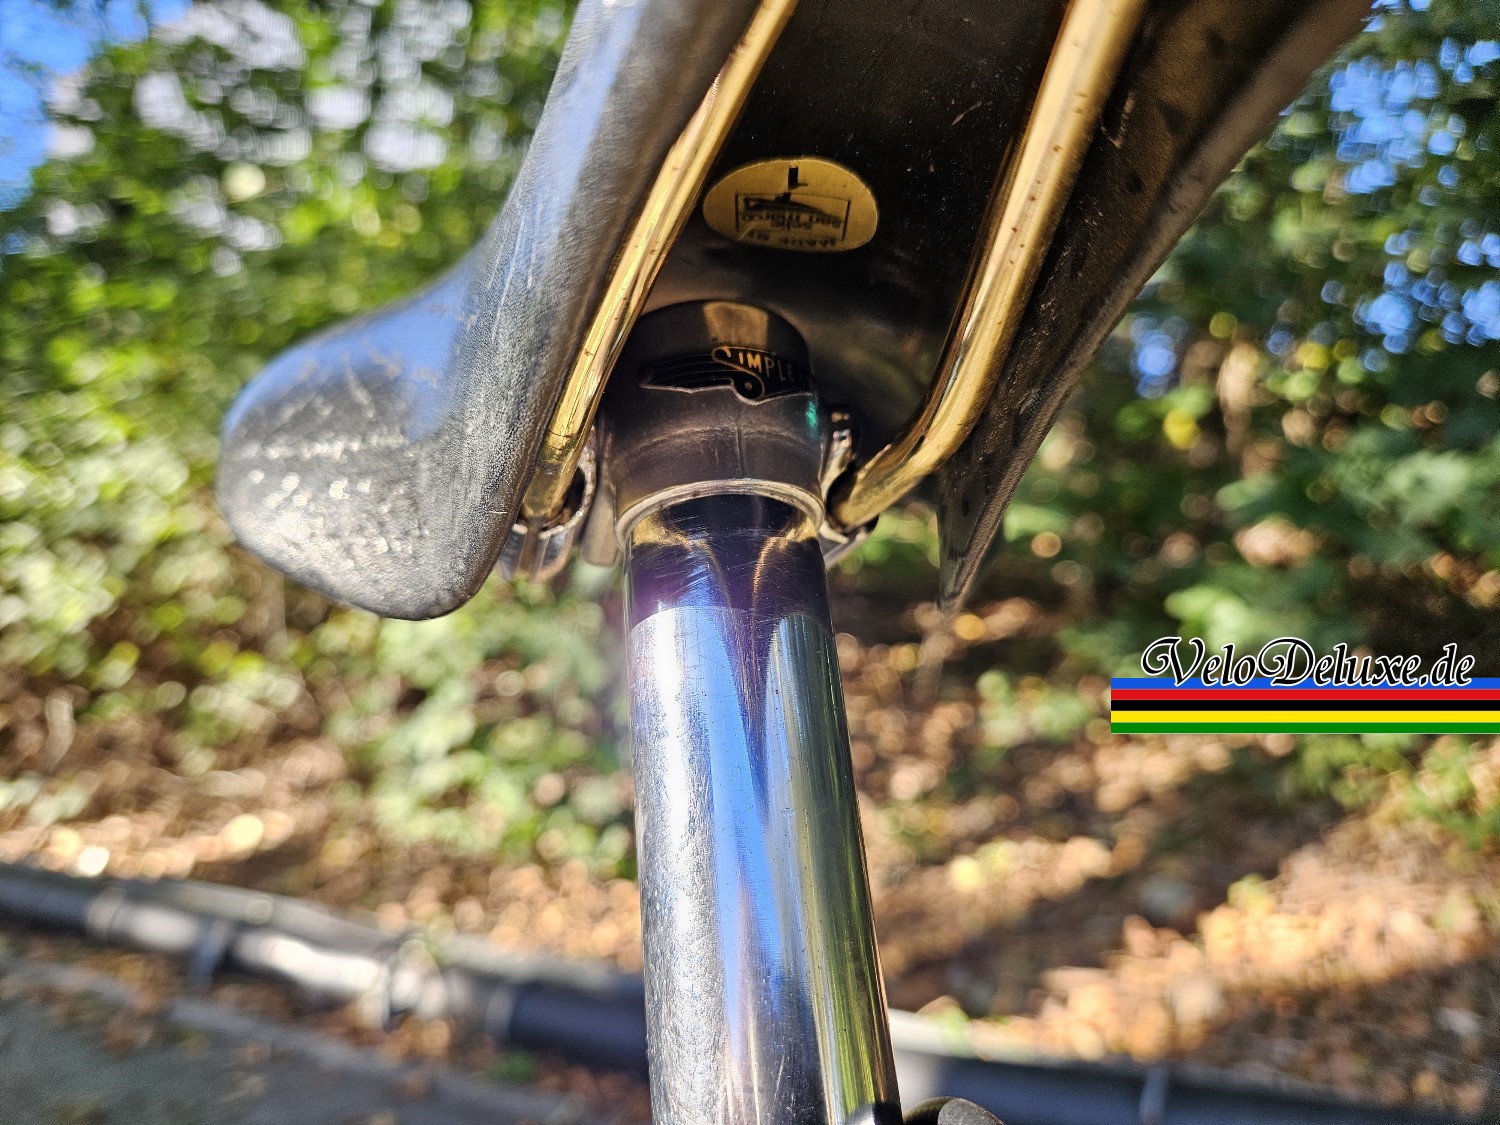
One more photo from loading up after the show.
And finally, the video.